Over the weekend, we managed to finish the herb garden. I say “managed” because as I’ve mentioned before, the sod in this place is brutal. The grass is old and the roots well-established, and the soil contains just enough clay that separating the two is a feat worthy of a strongman competition. And the vegetable gardens will be bigger. I asked the neighbor to borrow his tiller but it’s currently on loan to his son. Maybe I’ll acquire an ox instead.
Anyway, after two days of hacking and cursing, the sod was removed. The soil, now exposed, was begging for vegetation, to which I obliged before it started enlisting local volunteers.
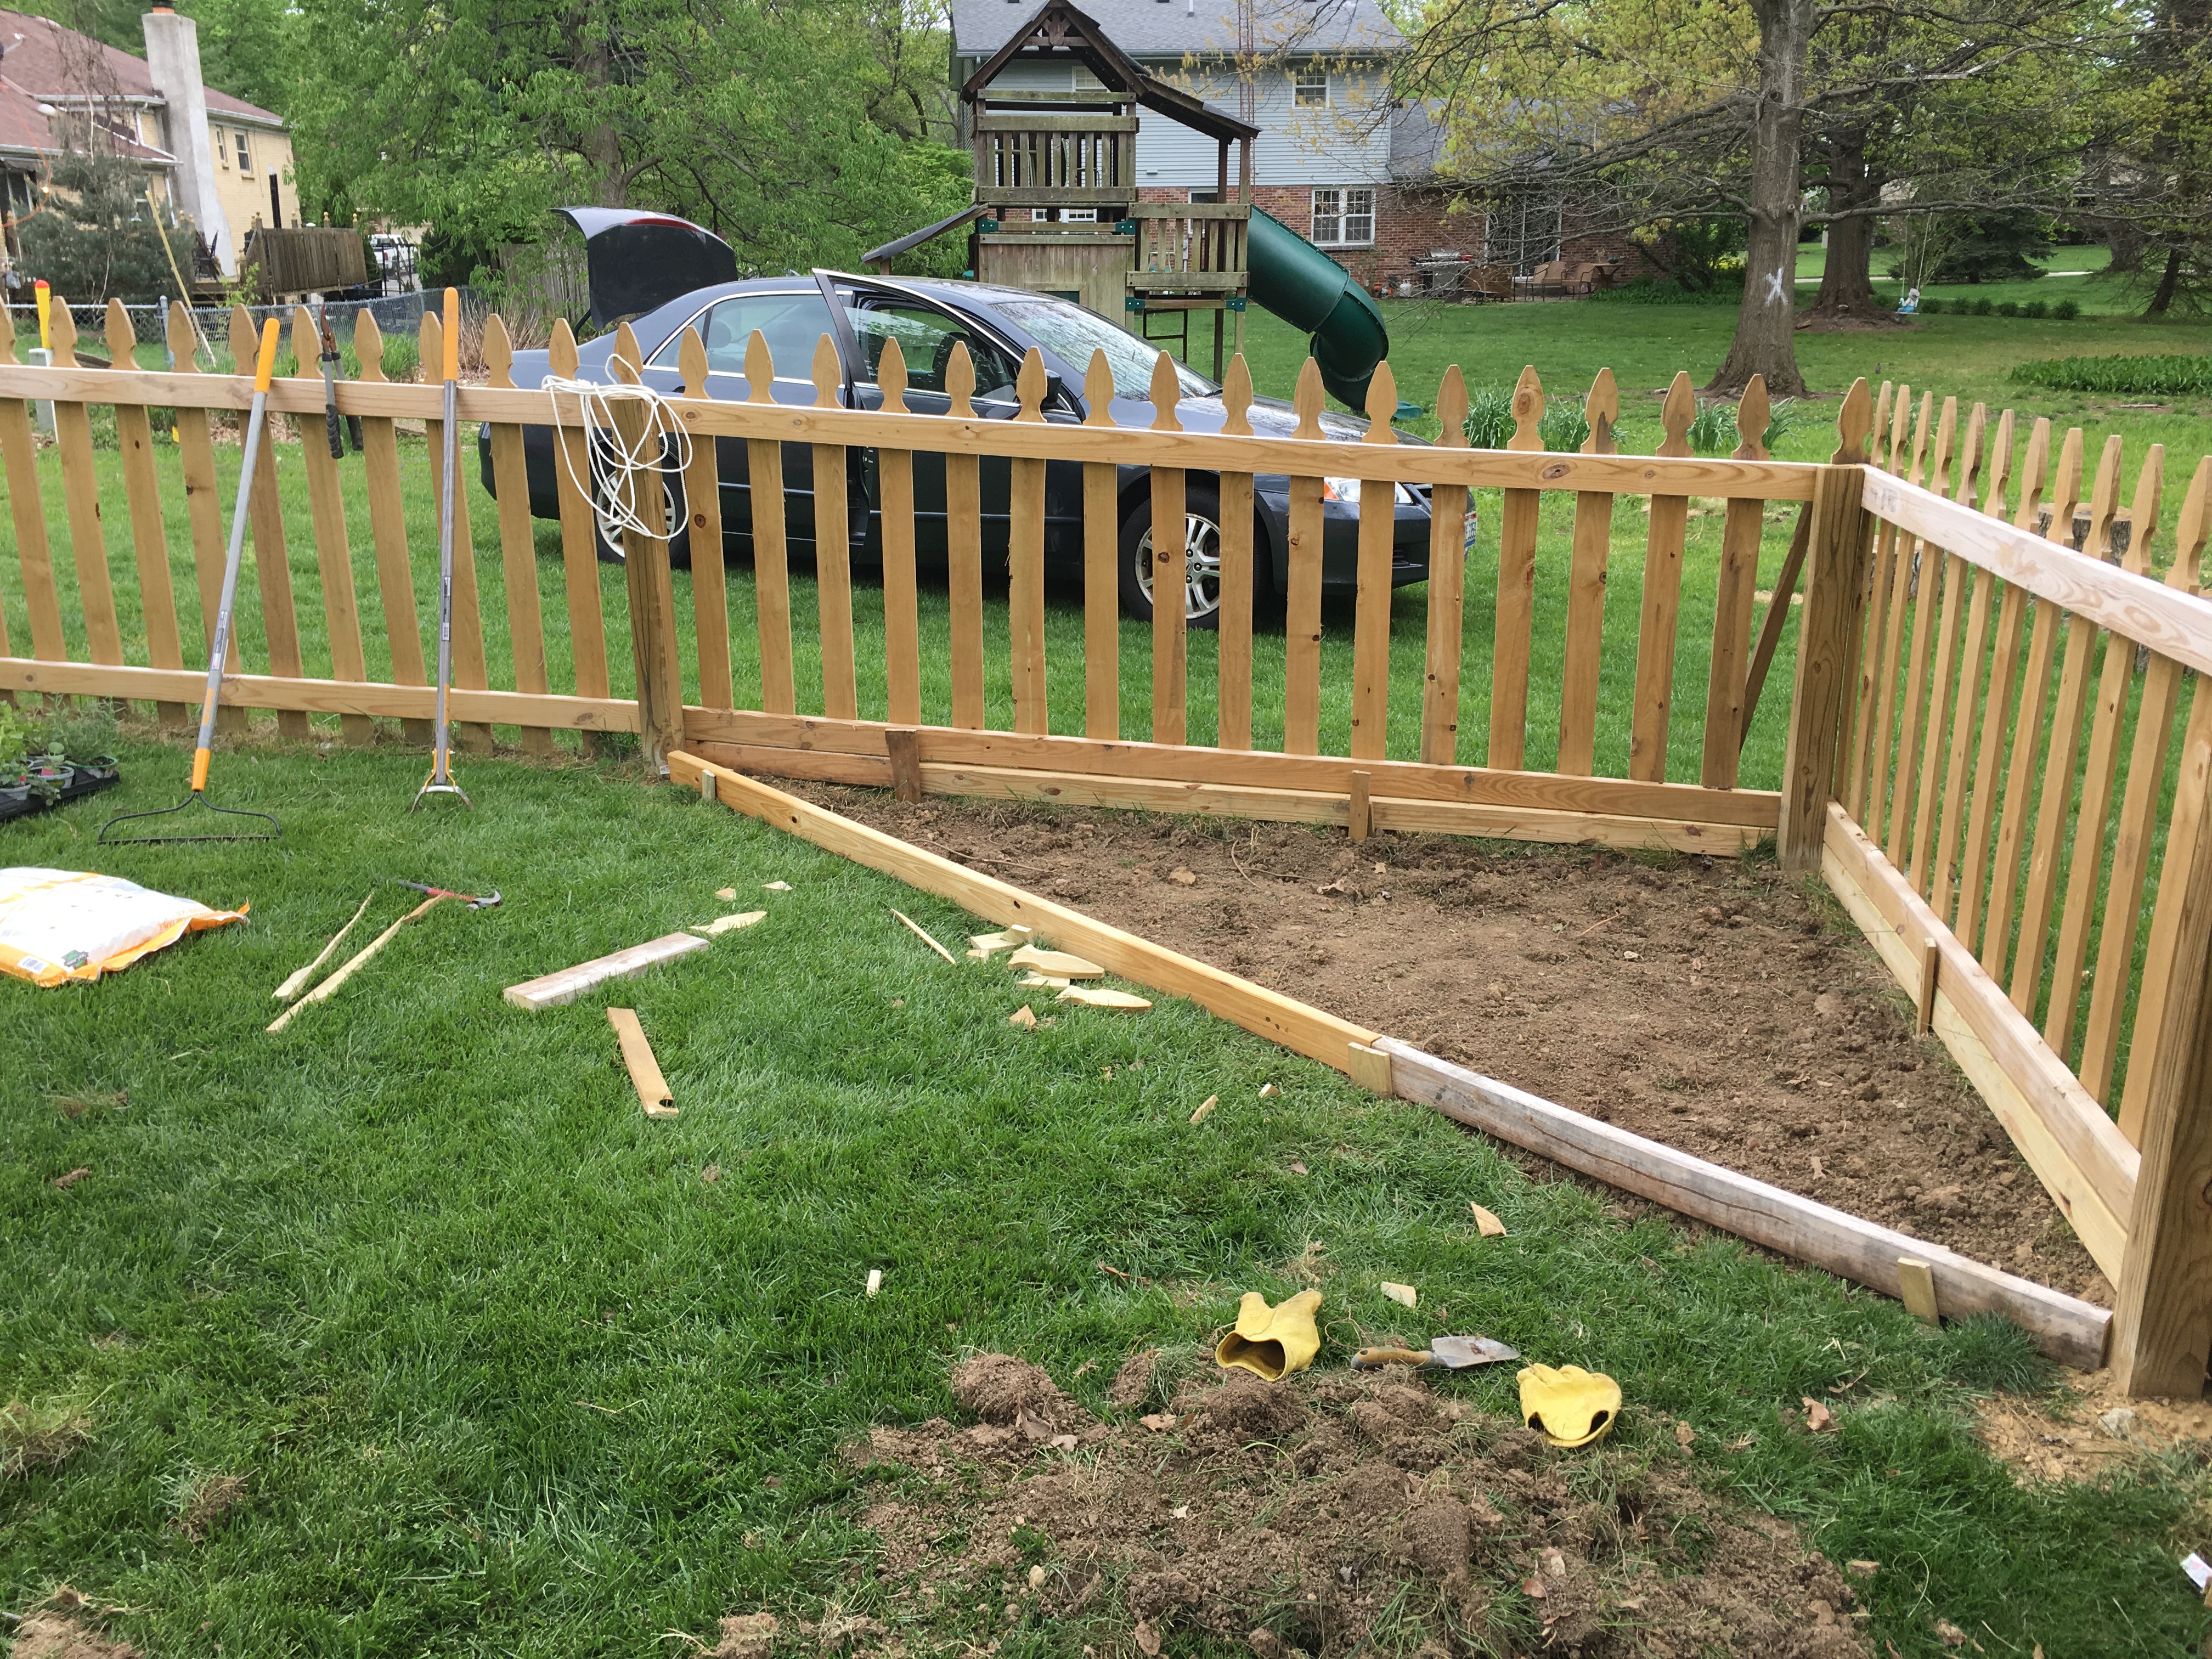
But first, we discussed raising the bed. Despite our valiant efforts of minimizing soil loss, a large quantity still accompanied the sod in its journey to the pile of discarded grass on the side of the house. That, and the benefits of drainage from a raised bed are obvious. Visions of logs sticking out the back of the inadequate Honda dampened my spirits, but then I remembered the leftover 2x4s from the fencing installation. With a little help from the reciprocating saw and sledgehammer, I secured a border with wooden stakes.
15 cubic feet of soil in that little car
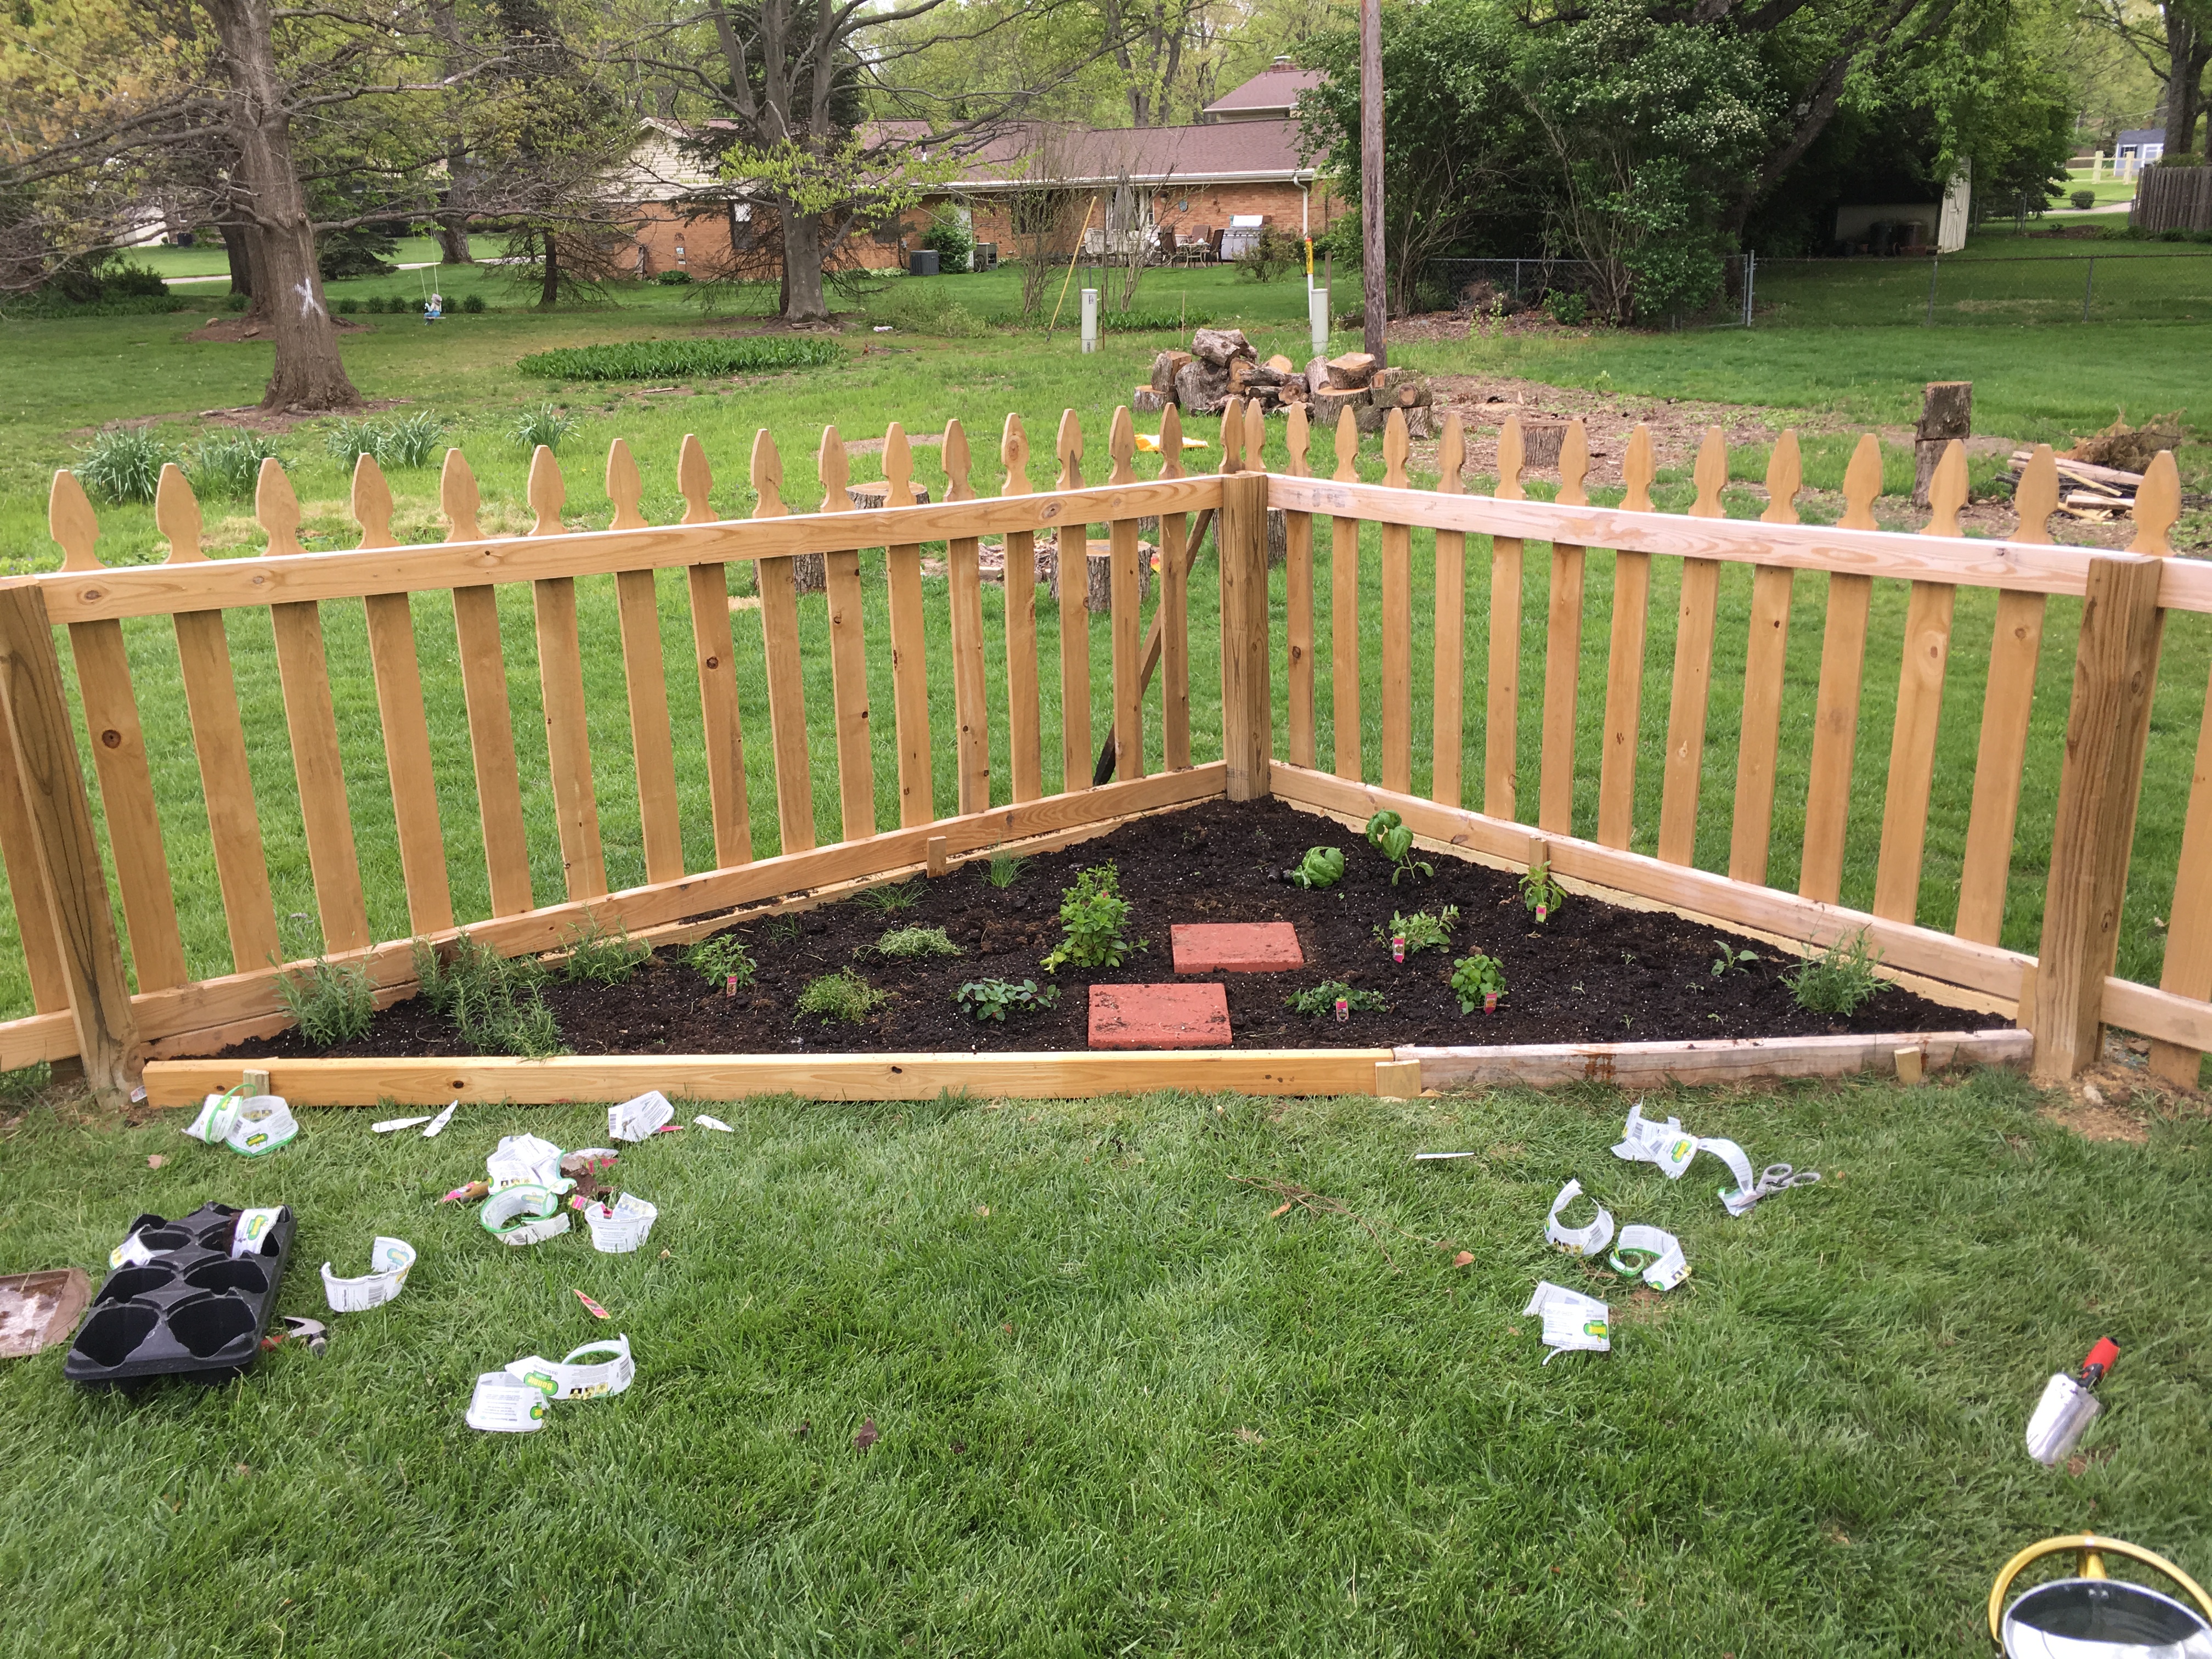
A lot of fancy dirt later, and raised bed we had. Lowe’s also had a sale on herbs, which was awfully considerate of them to time that with the weekend of our herb garden project. And, complementing what I had started under the grow lights, we now have a proper garden of fragrance and seasoning–a symbolic requirement to having an established homestead.
Well, a drainage ditch anyway. If you’ve talked to me about the house at all, then you’ve most definitely heard about the drainage issues, or rather, the complete lack of basic drainage. See the Get Off My Lawn! series. The former owner, in her battle against a flooding basement, paid to have it trenched and a sump installed. After purchasing the house, I’ve since extended downspout drainage, and the sump has remained dry ever since.
Until recently. We had a very dry summer last year, and it didn’t give me a good baseline with which to predict future water problems. This spring has seen a lot of water, and now the sump is running. This in itself of course isn’t a problem–the water is being handled dutifully by the pump. Outside, however…
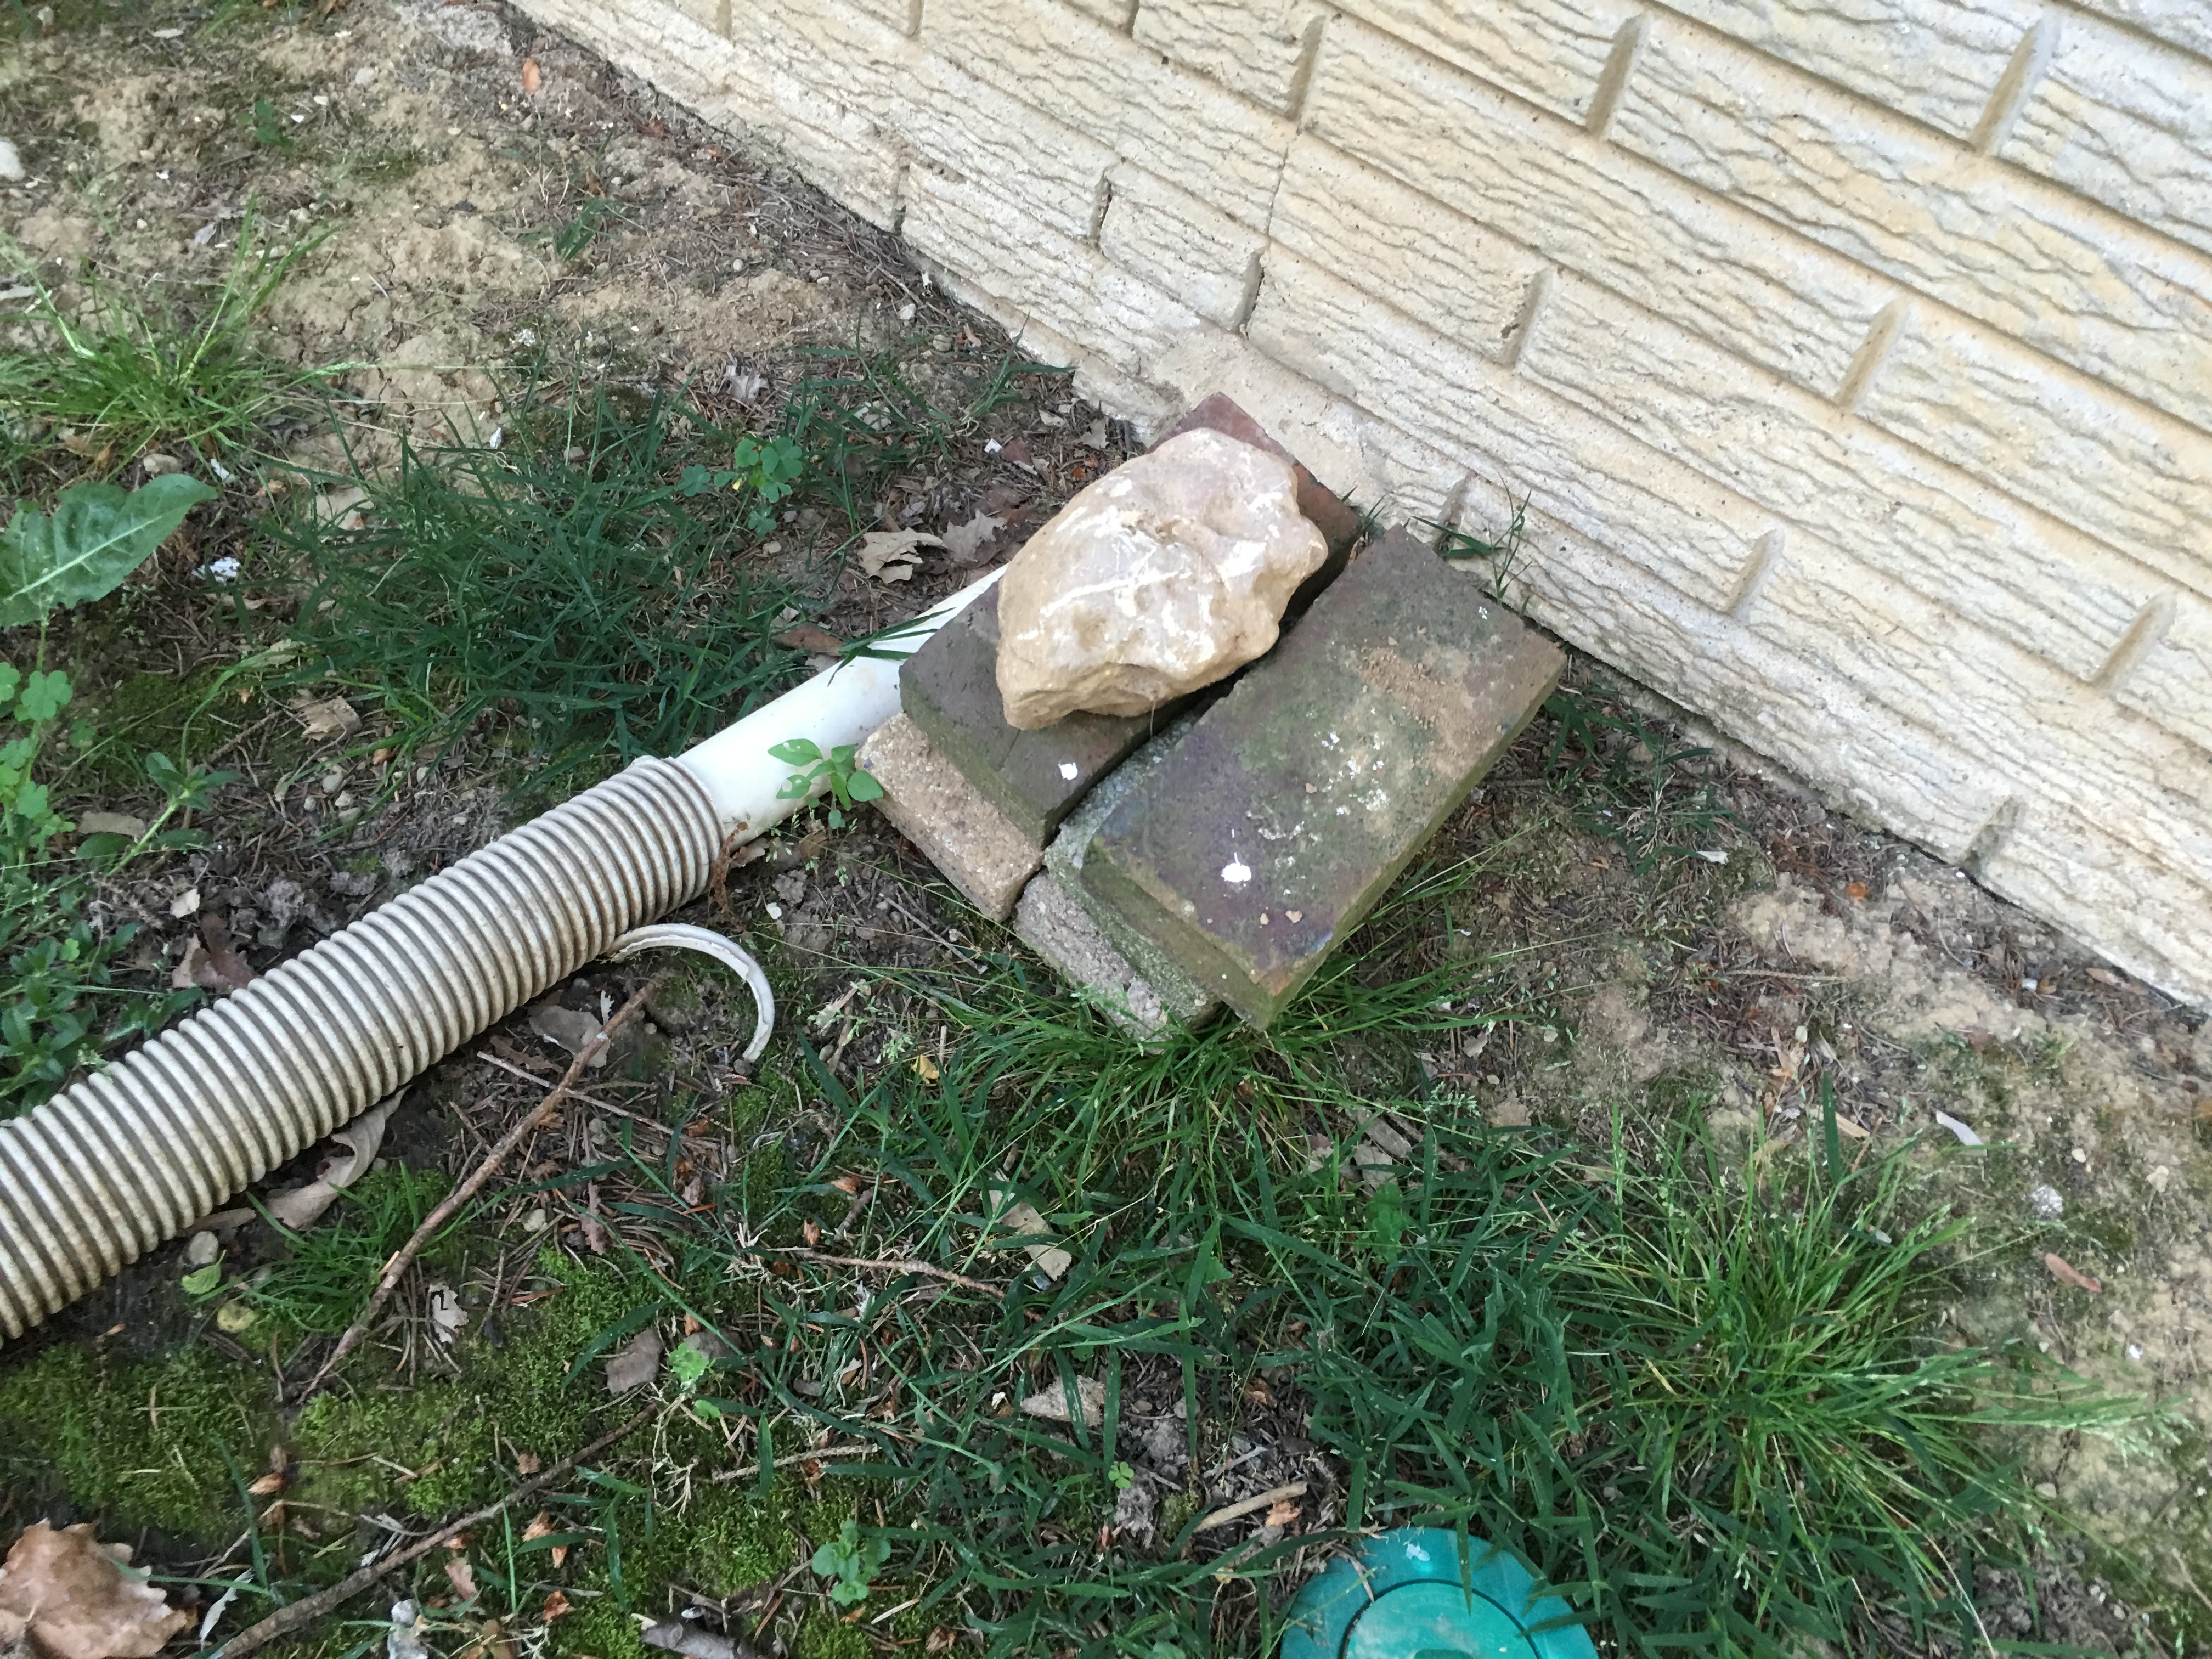
Someone had retrofitted a vacuum hose to the outlet. Again, effective, but incredibly ugly. And then the kid played with it and cracked it, rendering it useless anyway. Now, with water pooling against the foundation, my hand was forced. It was time to finally address this eyesore.
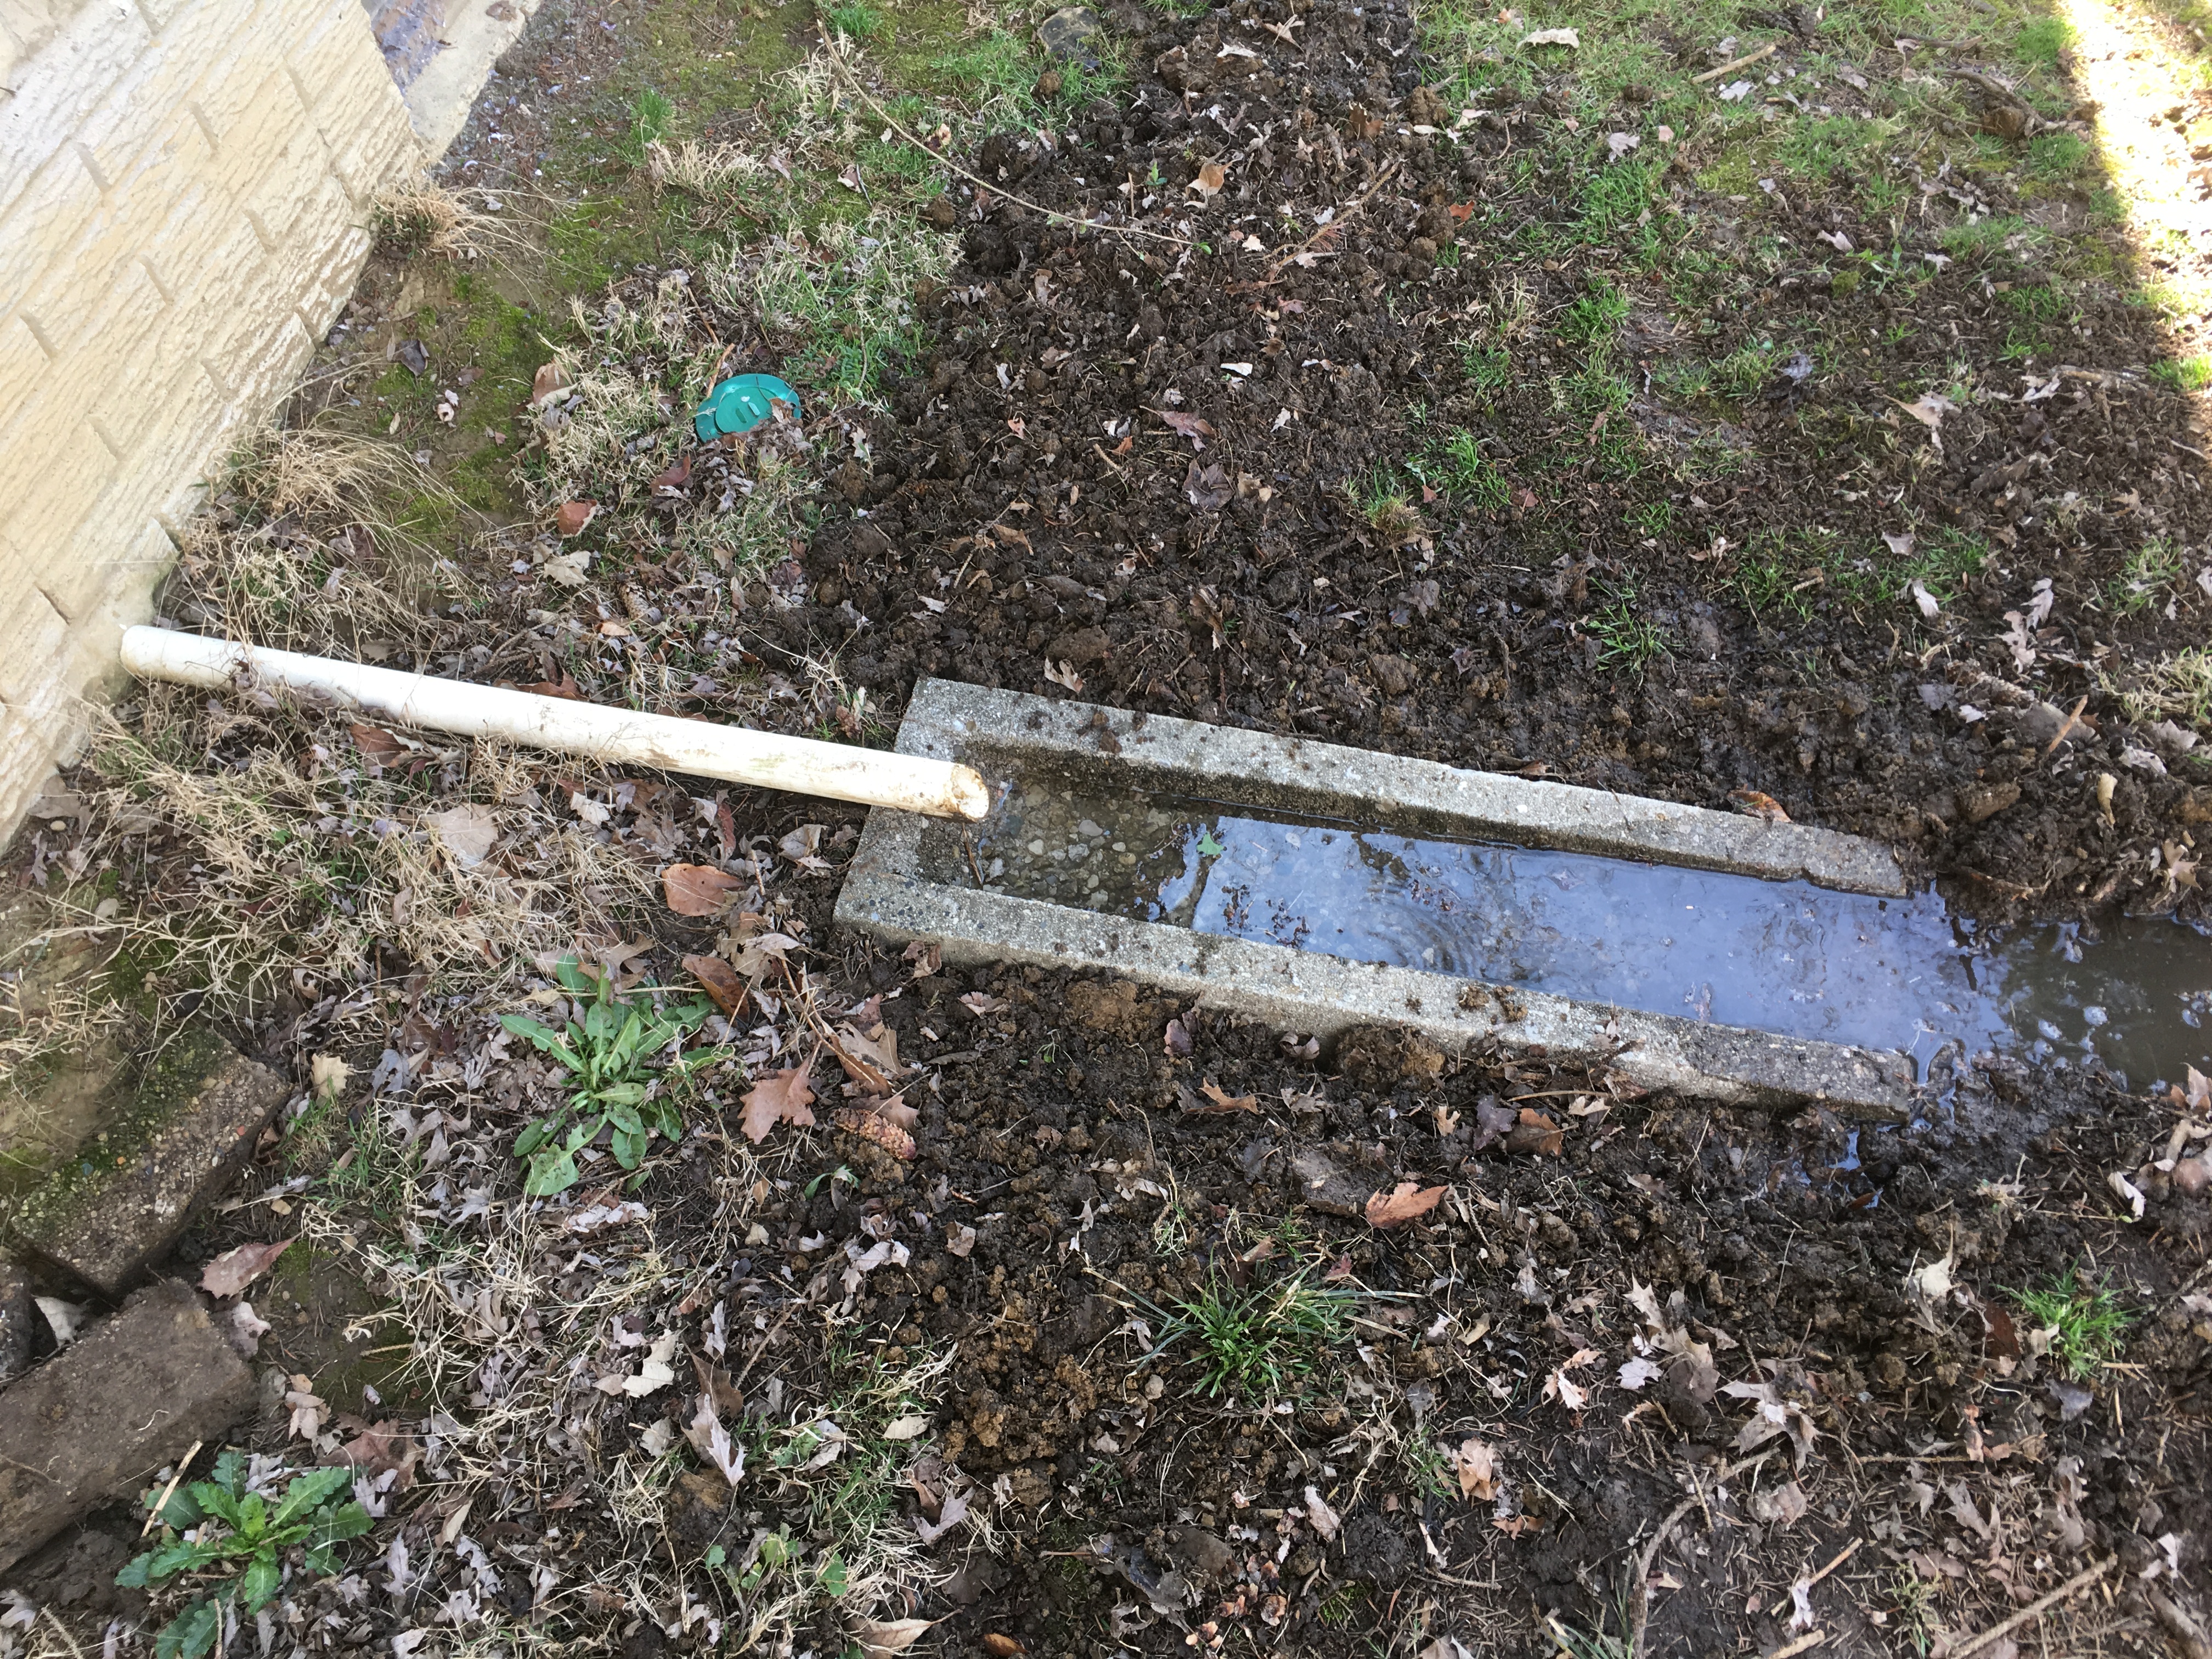
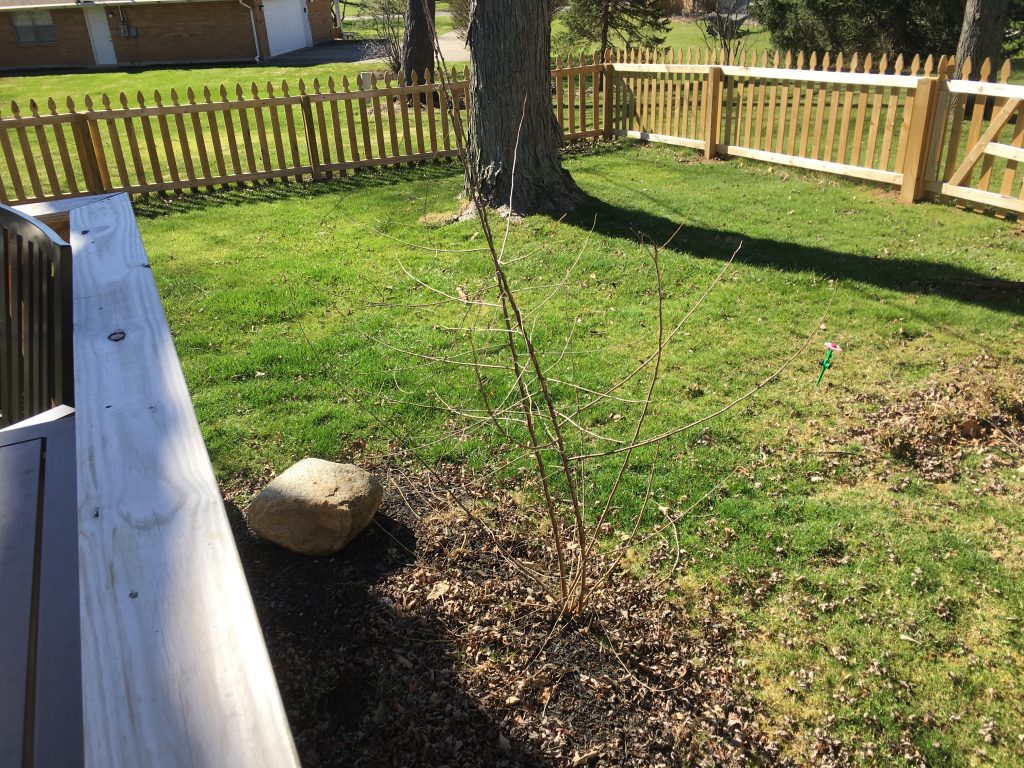
This is the ENE side of the house, under a pine tree. These factors limit my planting options, but it does make a good candidate for a shade garden. First though, I needed to trench. Re-purposing a concrete downspout extender, I could immediately channel the water about 4 feet.
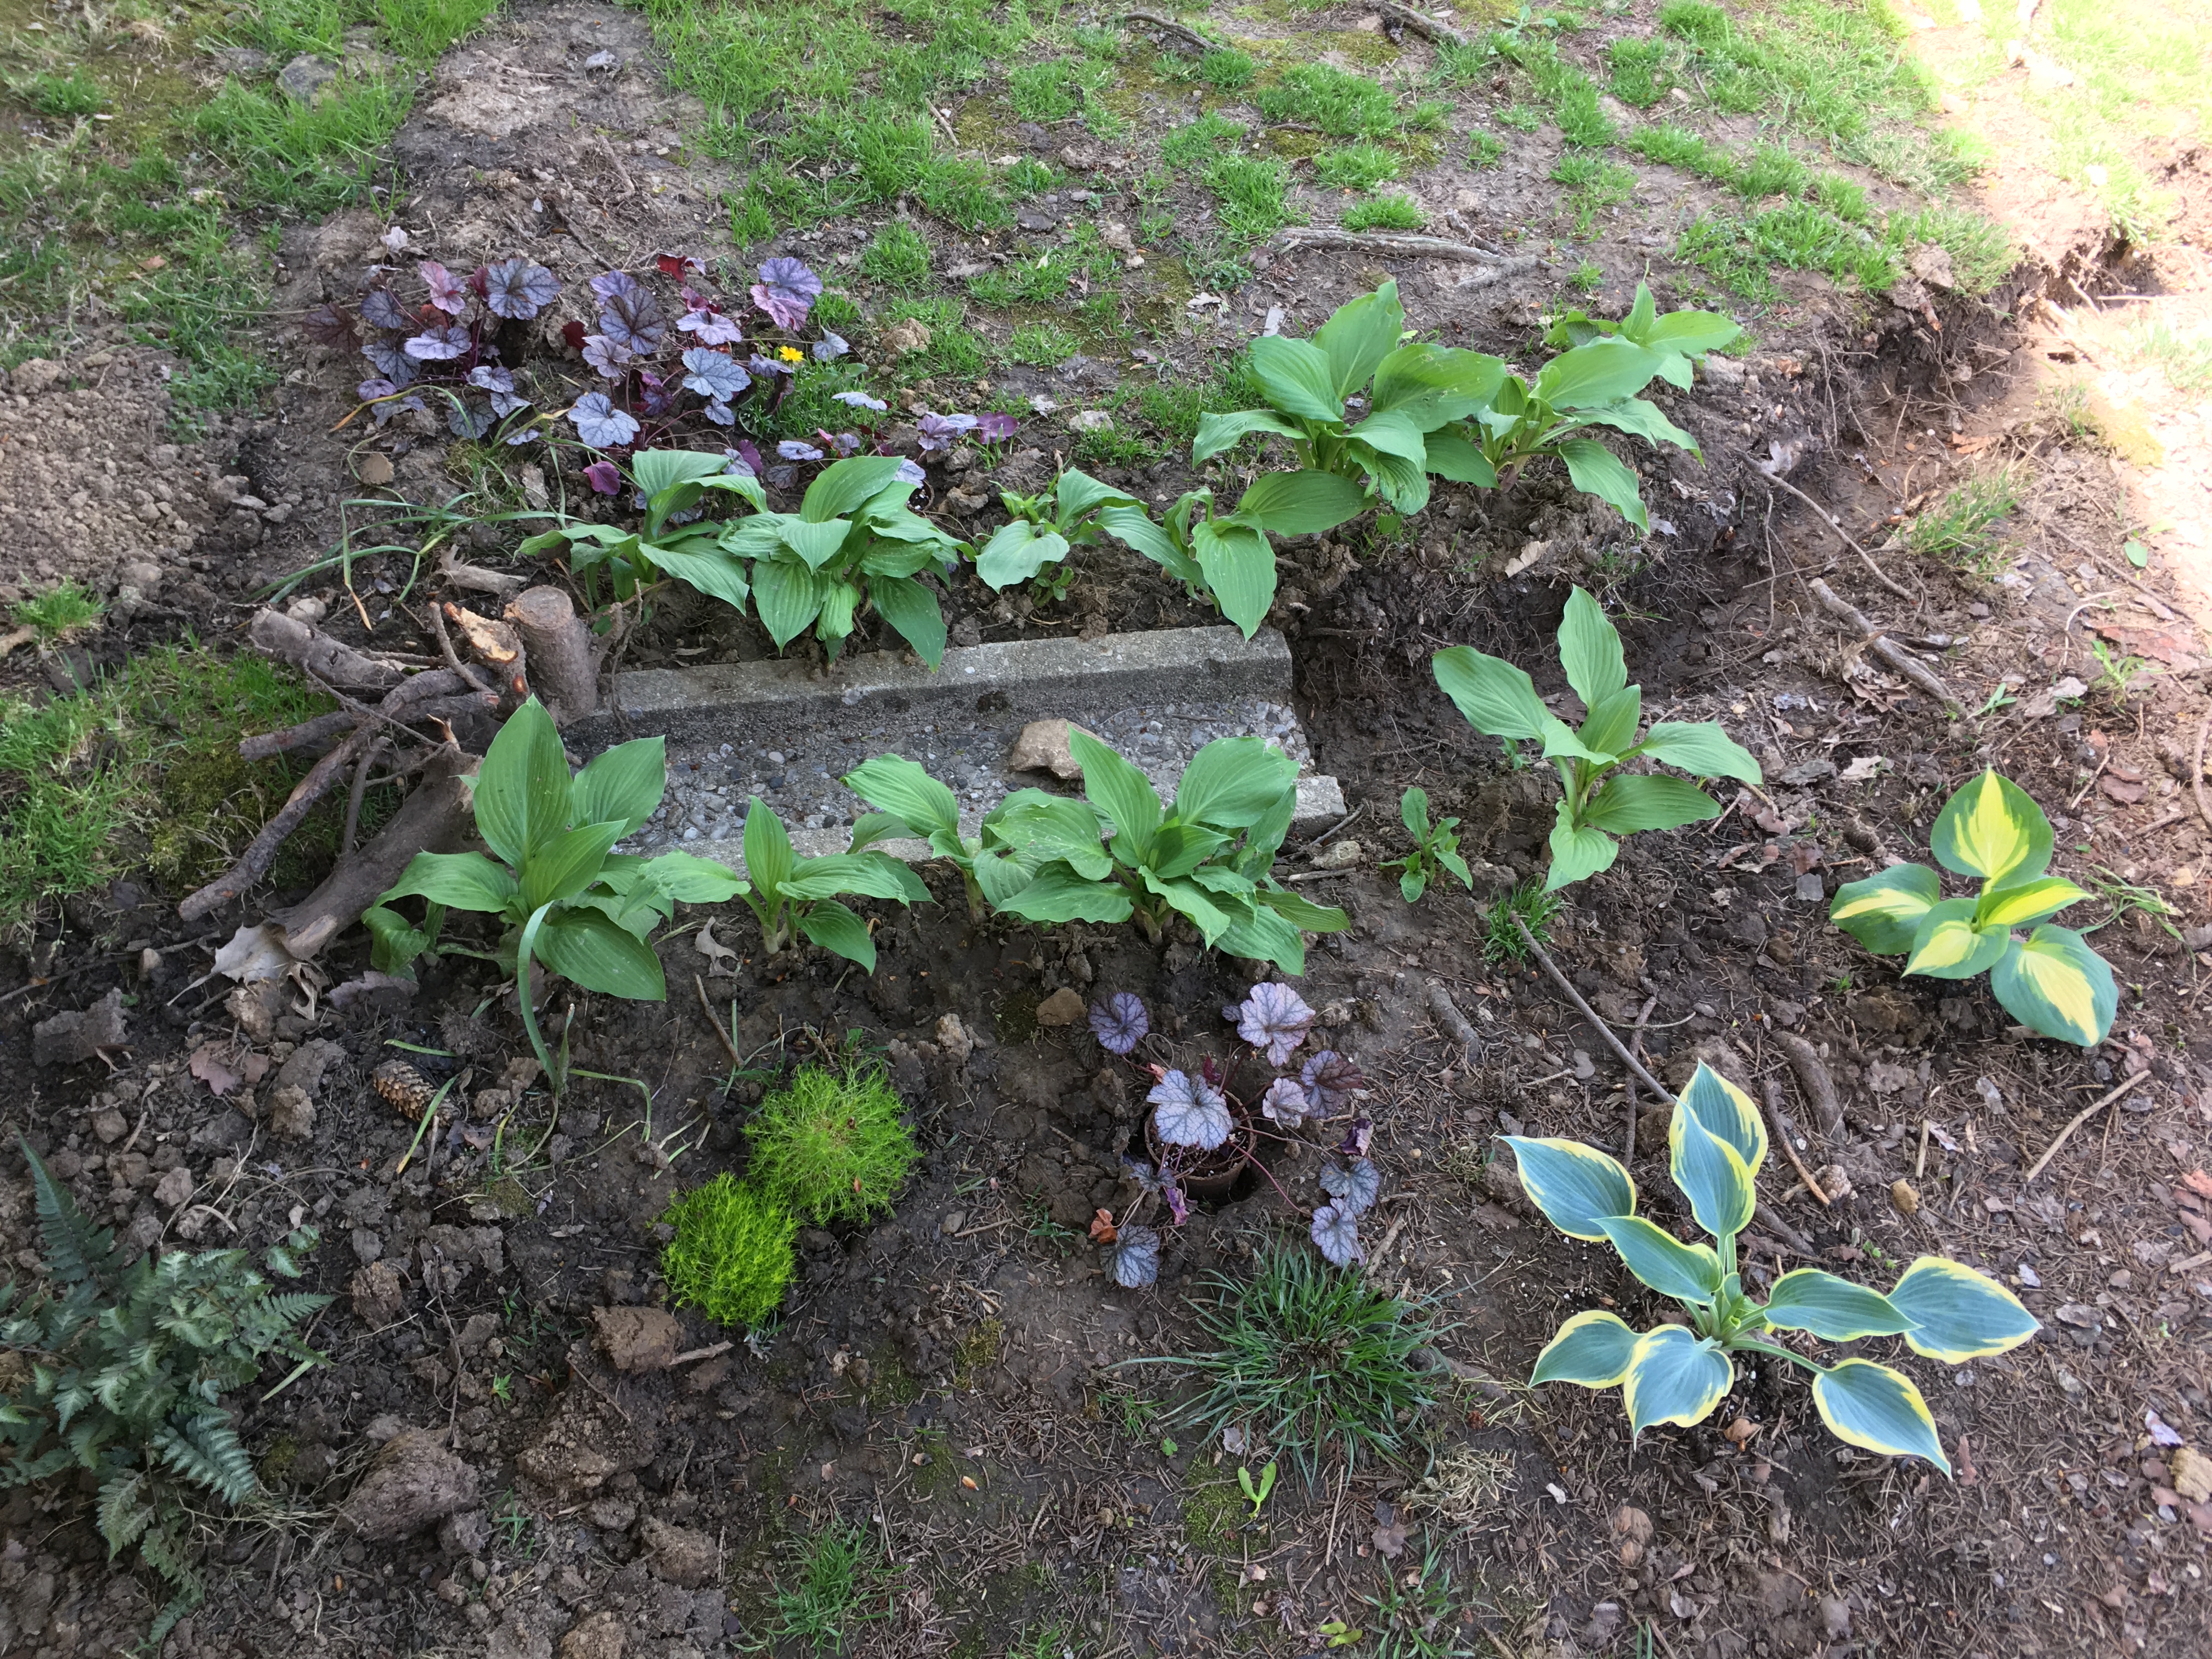
But, this was still rather industrial and ugly, and tended to back up (the sump pump probably spits out about 3 gallons whenever it clicks on). I needed a longer trench and ornamentation. Mattock, shovel, axe, and reciprocating saw all contributed to the project (damn roots). I then buried the pipe, planted the hosta which we saved from the apartment (split apart), added some ferns, purchased more hostas, and voila:
I now have the beginnings of a respectable shade garden, and effective sump drainage. Plus, the mason bees really like it. I like those bees, they’re cute.
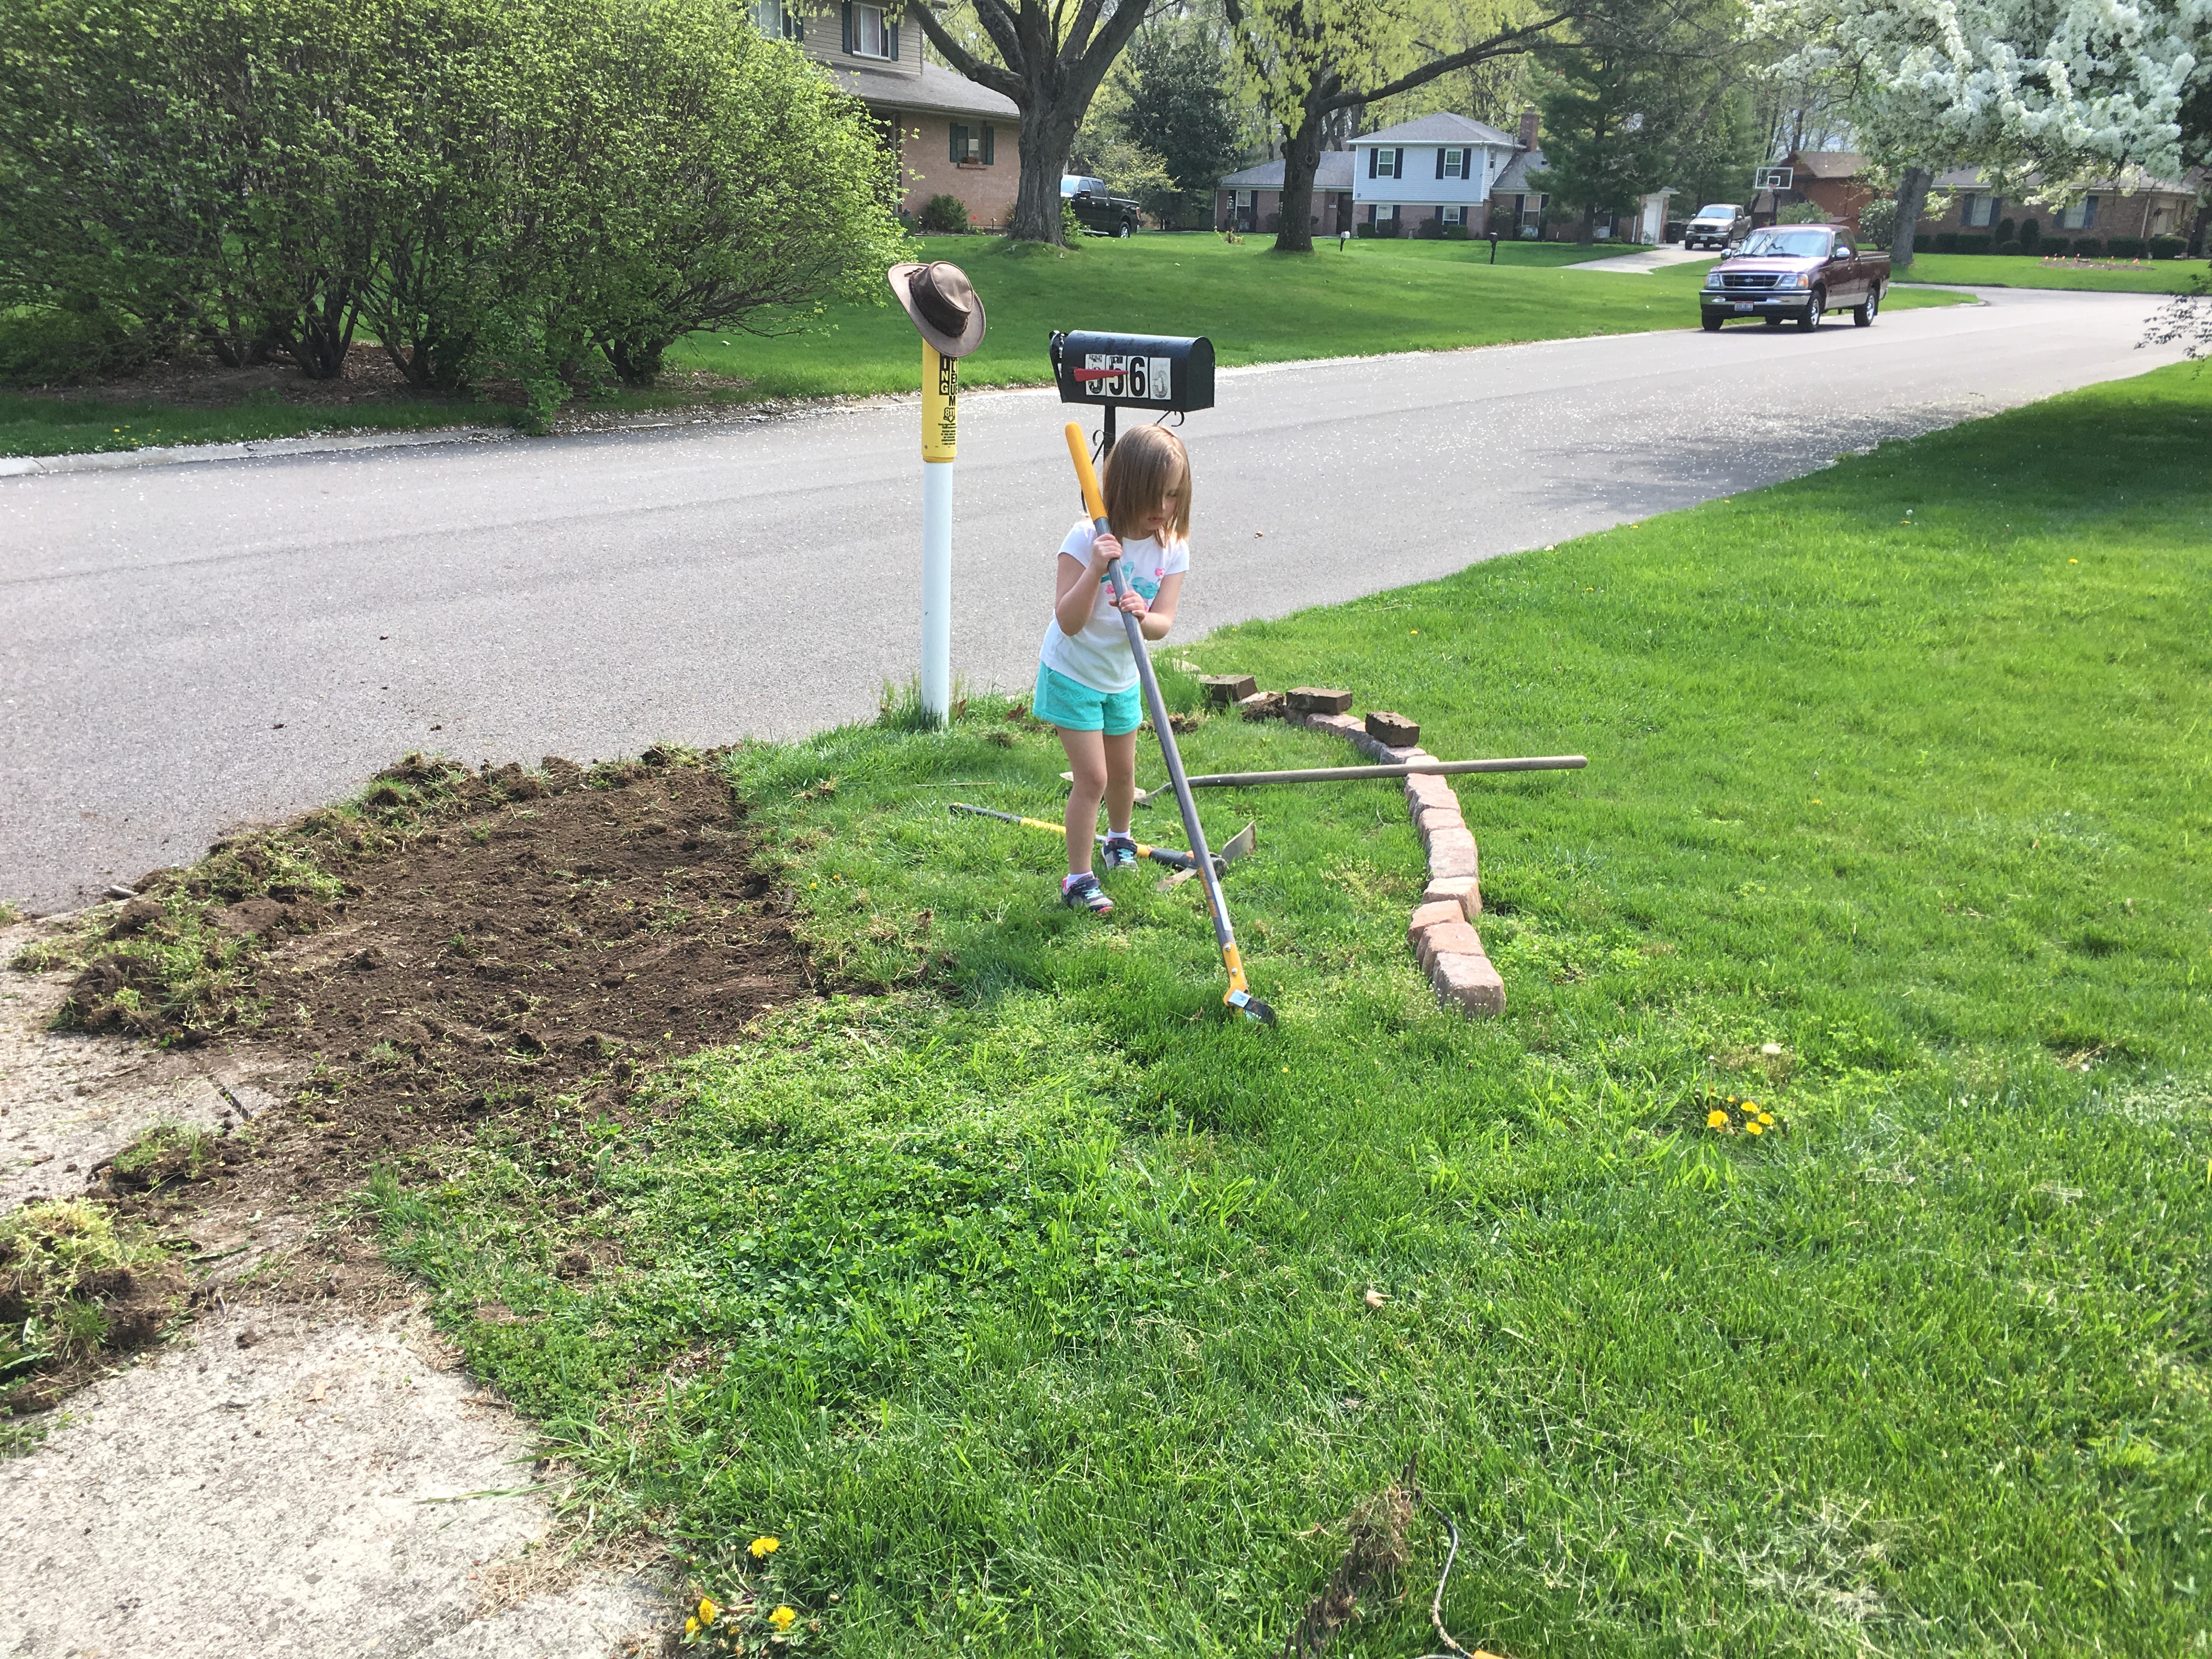
Over the weekend, Liz decided to begin her front garden project. The edge of the narrow front yard, terminating in a mailbox and pipeline marker, looked very inelegant. And I agreed with her assessment. I hate that ugly marker.
But, there isn’t much I can do about its mere existence. I imagine removing it would be in violation of some statute regarding the easement, and since the BP contractors have so far been very reasonable with us, I’m opting to not jeopardize our tenuous non-aggression pact. So, the pole stays. Other than that, the only restriction was to not plant trees on the easement. But we got an official okay for anything bush size or smaller.
16 tons…
I’m no stranger to removing sod, but this was the hardest yet. I swear the roots were a foot deep. It may not have been virgin prairie, but I’m pretty sure this grass was here since the 60s. The soil also has just enough clay that the roots wouldn’t pull free–rather they had to be cut. Ultimately we had to dig up the sod with a shovel, then shear off the dirt and bottom roots with a stirrup hoe. An hour into the project, Liz rethought the garden’s size. It did give me an excuse to segue into a discussion about how pioneers on the Great Plains constructed houses out of sod though.
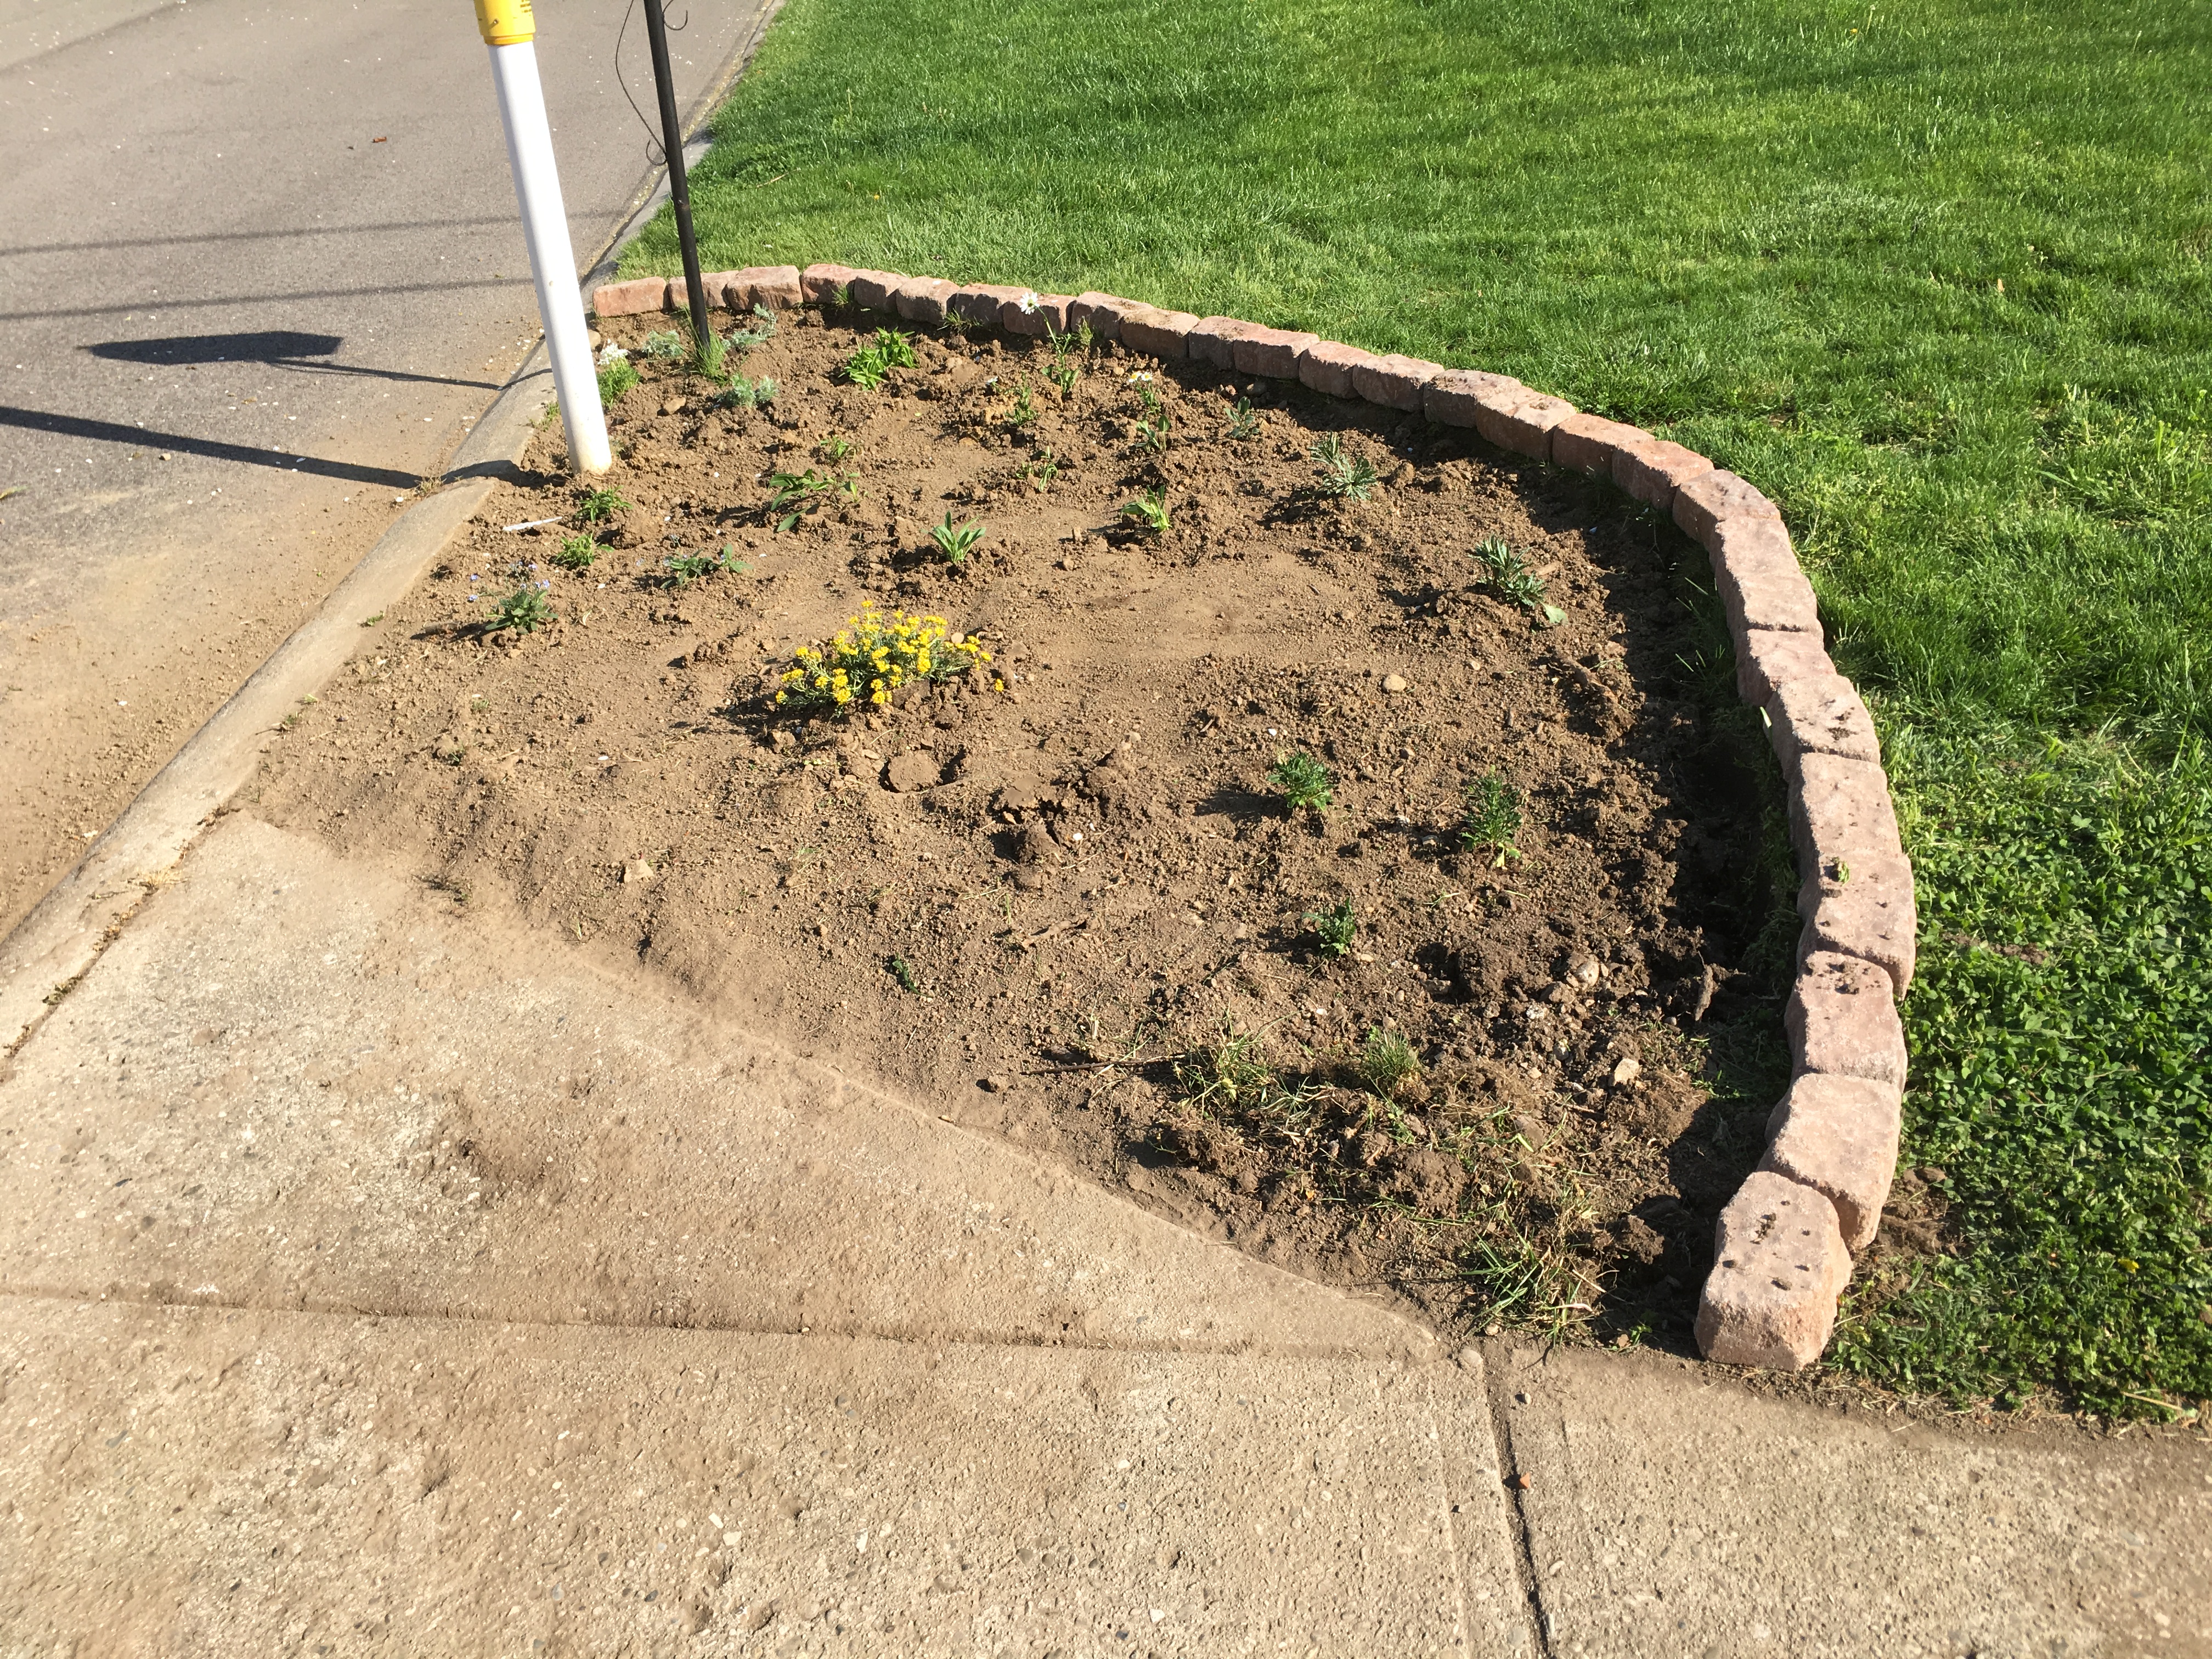
In the end, tenacity won out, and garden we had. Now filled with acquisitions from the perennial sale, and some annuals from the indoor grow light experiment, we have enhanced the aesthetics of the front yard, and hopefully, detracted from the glaring prominence of that stupid pole.
If I grew a vine on it, it might look like decoration
Henceforth, it shall be know as the Easter garden.
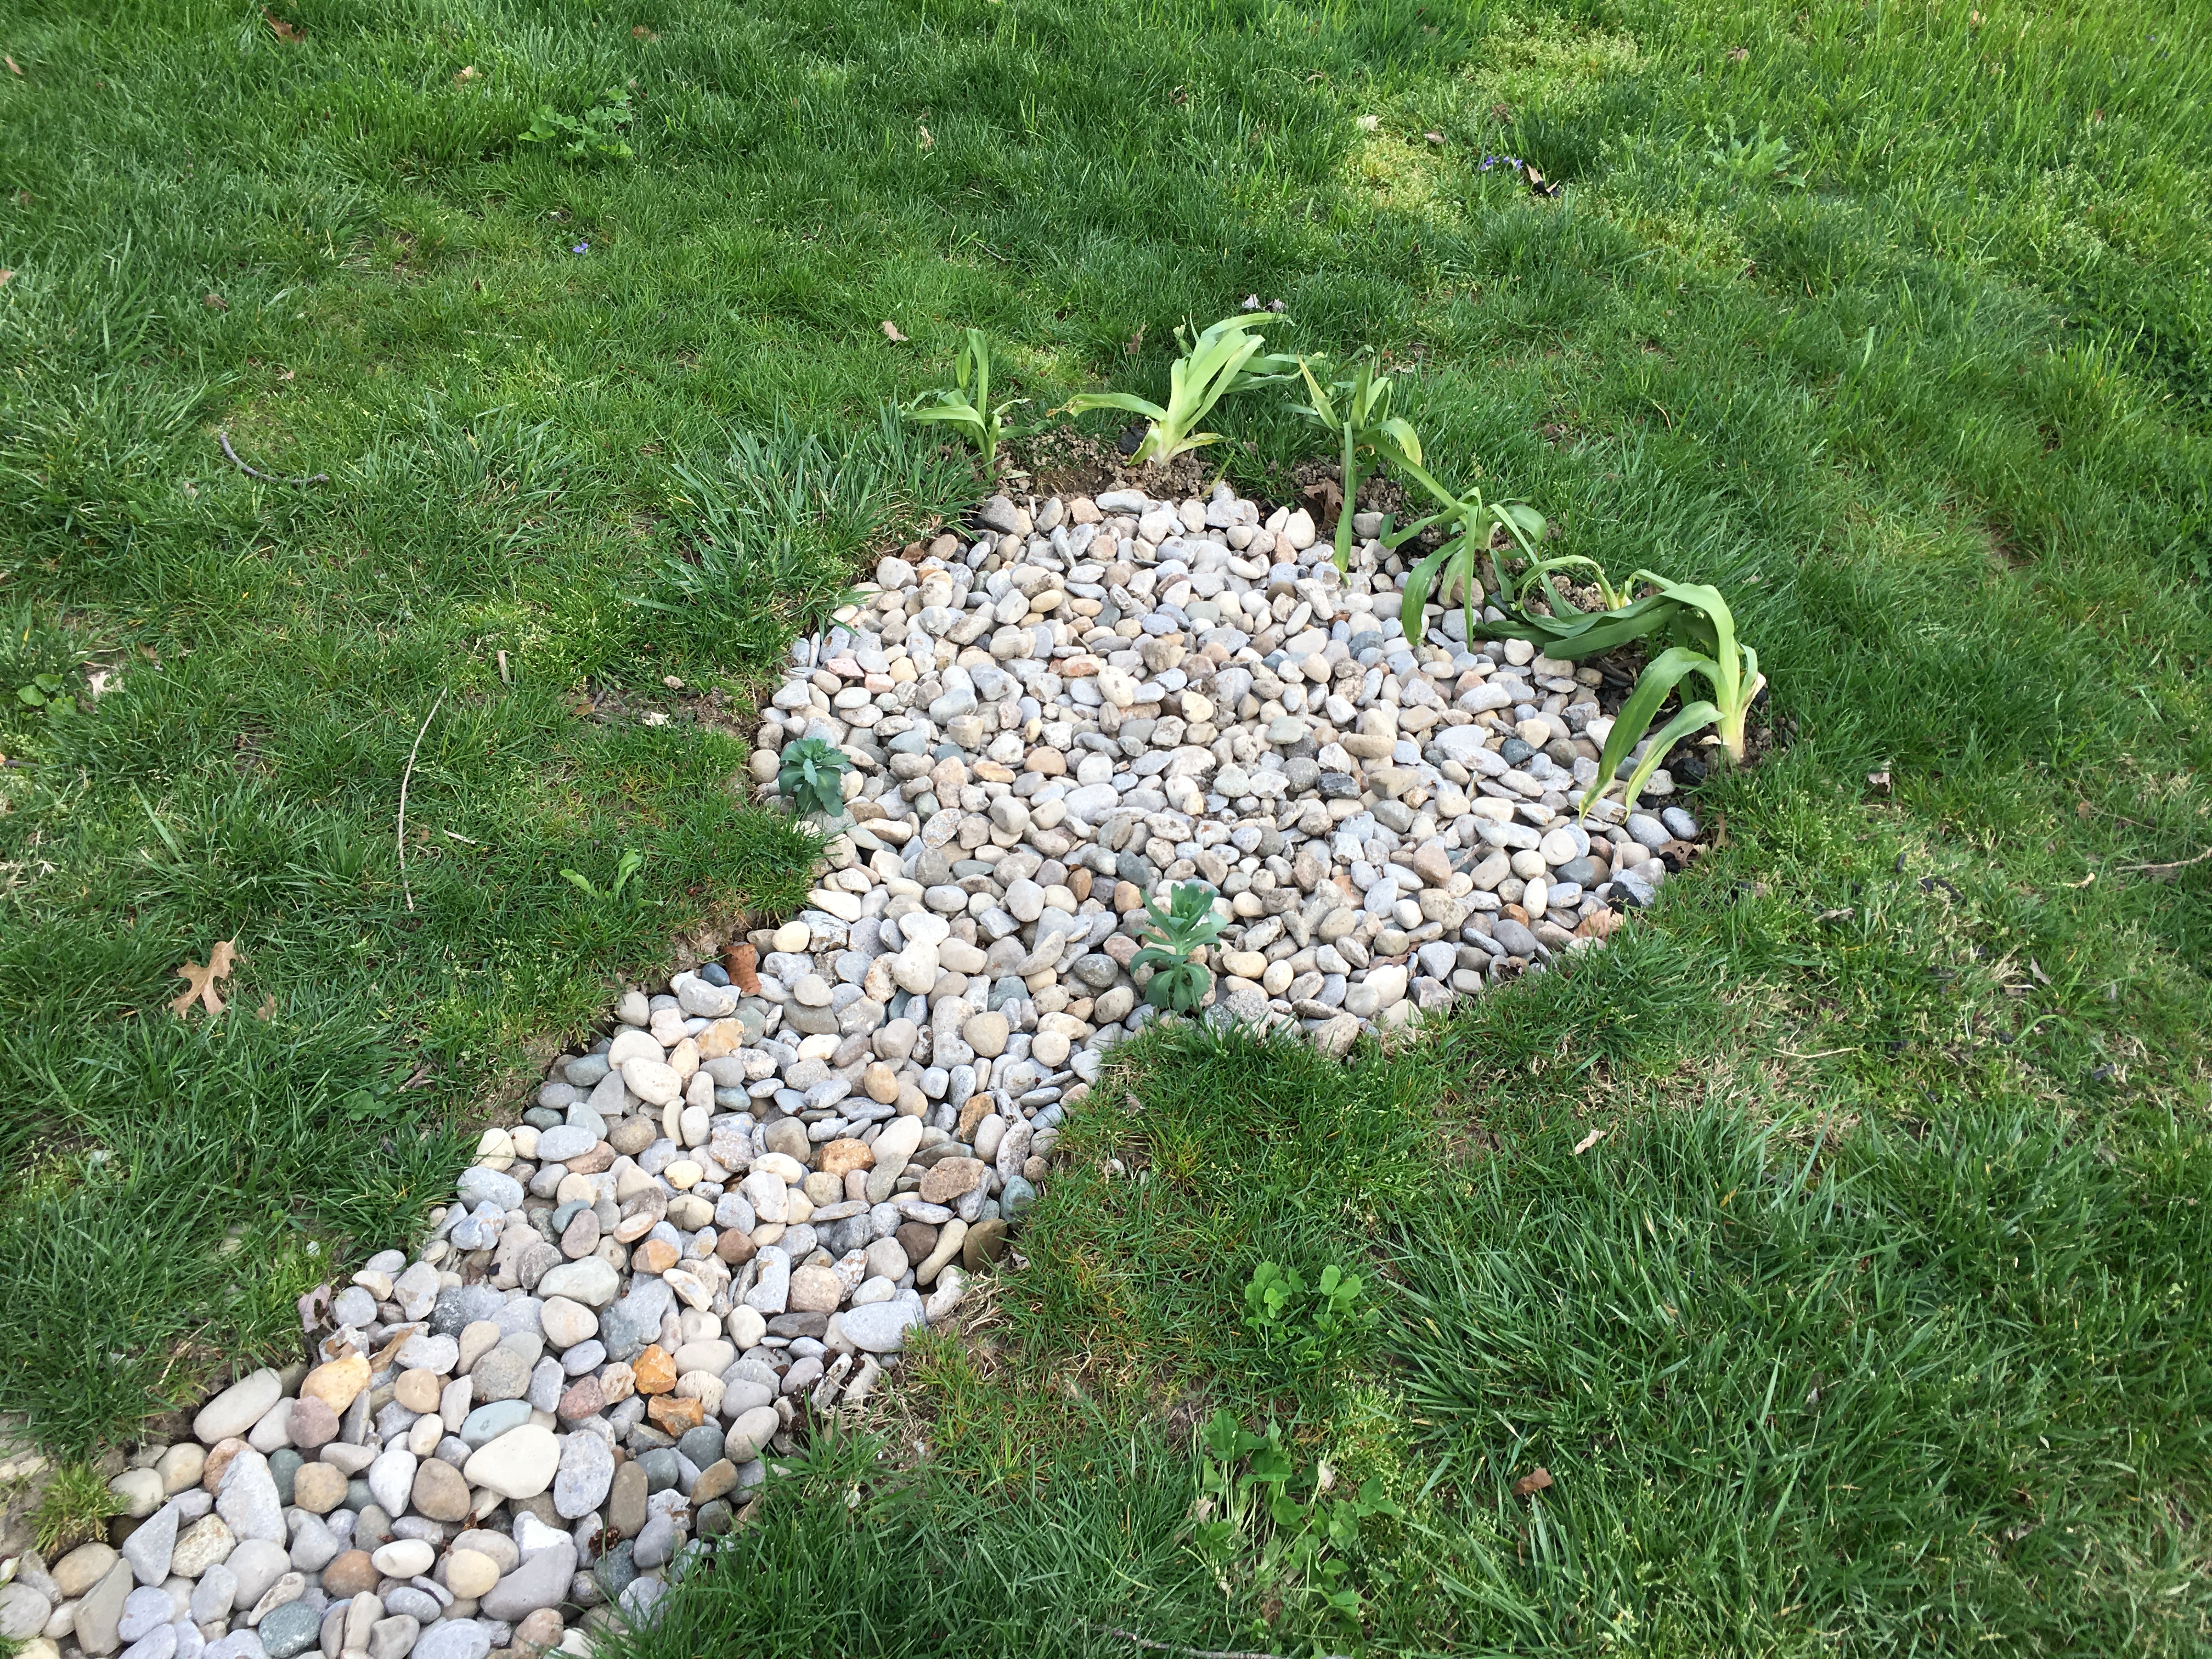
Work continues on the rain garden–a project whose purpose is ever-more apparent with the recent downpour. With the ugly gravel pit juxtaposed to the greening lawn, and the last frost date looming, I completed some preliminary additions.
I’m assuming that the garden’s flood/drought cycle will make it perfect for succulents, and as they were already bursting at the seams of their peat pots, I indulged their eagerness and buried the pots in the stone. Also, I relocated some volunteer tiger lilies, which were wedged against the house’s foundation, predicting that they were hardy candidates for repeated flood cycles. Now, again I wait.
As nice as a pit of gravel looks, I do have loftier plans for the rain garden. In the short time since I dug the trench, deluges of rain have already eroded meandering rivulets through the lawn as it slopes towards the neighbor’s yard. This, I note, will need to be addressed long-term, as looking outside I can see that his yard is flooded (although I don’t think I’m the sole cause of it). Amusingly, as if through divine grace, the pond which has collected thoroughly respects the property delineation, defying the normal expectations of water as there doesn’t seem to be much variation in elevation back there. Surely it’s some form of retribution for his throwing fireplace ashes onto my side, or because his kids use my yard as a highway (see the first post of this project). Thank you, universe.
It is for these two reasons: aesthetics and drainage, that I intend to plant things in this rain garden. But what? I could consult my family and their collective expanse of natural science degrees, or I could needlessly peruse the opinions of those whose experience and education level I have no way of verifying. Surely the latter was the better option.
It’s like a dandelion, only cooler
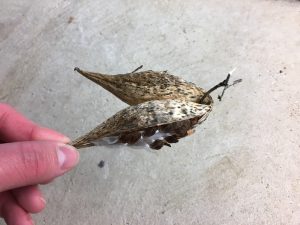
But first, let’s revisit an earlier time, when we had first purchased the property. Being the former home of an elderly woman, the yard and gardens were somewhat neglected. Well, they still are, but I’m getting to it. Anyway, the gardens immediately adjacent to the house and deck were hastily made presentable for showing by someone throwing down inches of mulch. I’m not even certain there were gardens, as every time I dig in one of them I hit concrete and bricks. Three things survived this onslaught of woody biomass: a series of yew bushes, nightshade, and some mystery ugly woody plant that I figured for a weed. I’ve since then ripped out all the nightshade for obvious reasons, once my daughter exclaimed in delight that there were miniature tomatoes growing (however taxonomically accurate–her extended family would be proud). But I didn’t get around to the woody plant. Then winter came and it went to seed. It produced these very interesting looking pods, which my wife harvested and brought inside, mentioning a future arts and crafts project.
Fast-forward back to the present. Ultimately I decided native plants would be the hardiest, and I also wanted plants that would double for a butterfly garden. And what do monarch butterflies like? Milkweed of course, and there it was on the list of native plants appropriate for water gardens. And, my sister had included it in her doomsday gift to me–I mean birthday. It’s a cool gift, though it does kind of looks like the starter kit to a seed vault in my basement (20 different strains of squash, for example). Family was always very important to her, and here she is looking after me for a future apocalypse. They’re also meticulously labeled, consistent with the strain of OCD that plagues our genes (I’ve since catalogued all the seeds in a spreadsheet).
And so, with all the dramatic flair that one can assign to the task of dropping a few seeds into a pot of dirt, I dropped a few of the seeds into a pot of dirt. The next day I was browsing the internet instead of working and I caught a glimpse of an image of a milkweed plant. Specifically, I saw a milkweed seed pod and thought how familiar it looked. It wasn’t until later in the day that I realized the seed pods my wife had harvested were milkweed–the pods which I had ended up moving to the shelf on top of my indoor grow lights, right next to the box of all the seeds my sister gave me.
Milkweed in the winter
Now I debate: was that weed in the garden really as ugly as I remember? It’s only a stick right now so I can’t tell. But it seems pointless to plant milkweed when I already have it growing. Maybe I’ll transplant some jewelweed instead.