Here’s some picks of grilling with that new grill grate!

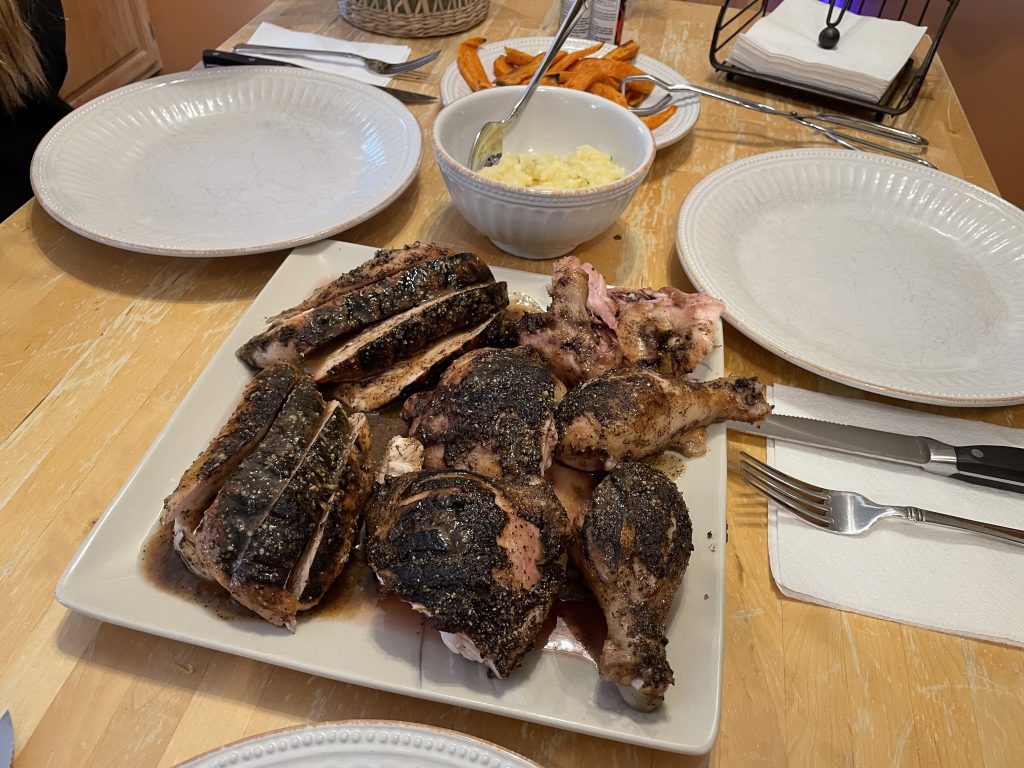
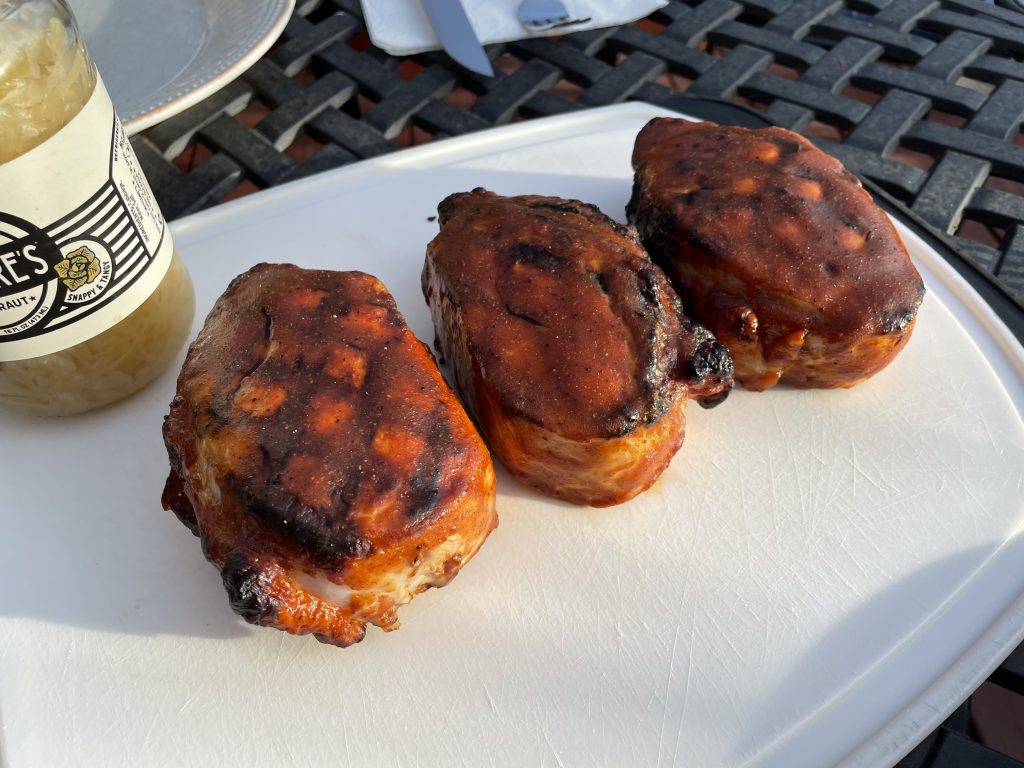
And that’s most of the food groups.
–Simon

Tales from Easement Acres
Here’s some picks of grilling with that new grill grate!
And that’s most of the food groups.
–Simon
I notice kettle grills have a more personal connection to their owners. No one refurbishes their gas grills when they wear out. They get chucked in the trash and replaced with something shinier. But kettle grills are awash with aftermarket parts both to replace broken pieces as well as to enhance what comes stock. My own grill in fact, which was an anniversary present from Liz, has had its ash sweeper/air control replaced, new grill grates, and a fancy weather cover added. I’m very fond of it. It represents when I started charcoal grilling, and on my deck of my new home too. Very suburban.
And speaking of enhancements, I got tired of the steel grates. They’re thin and tend to bend with wear, and the steel has a low specific heat. So I found cast iron replacements!
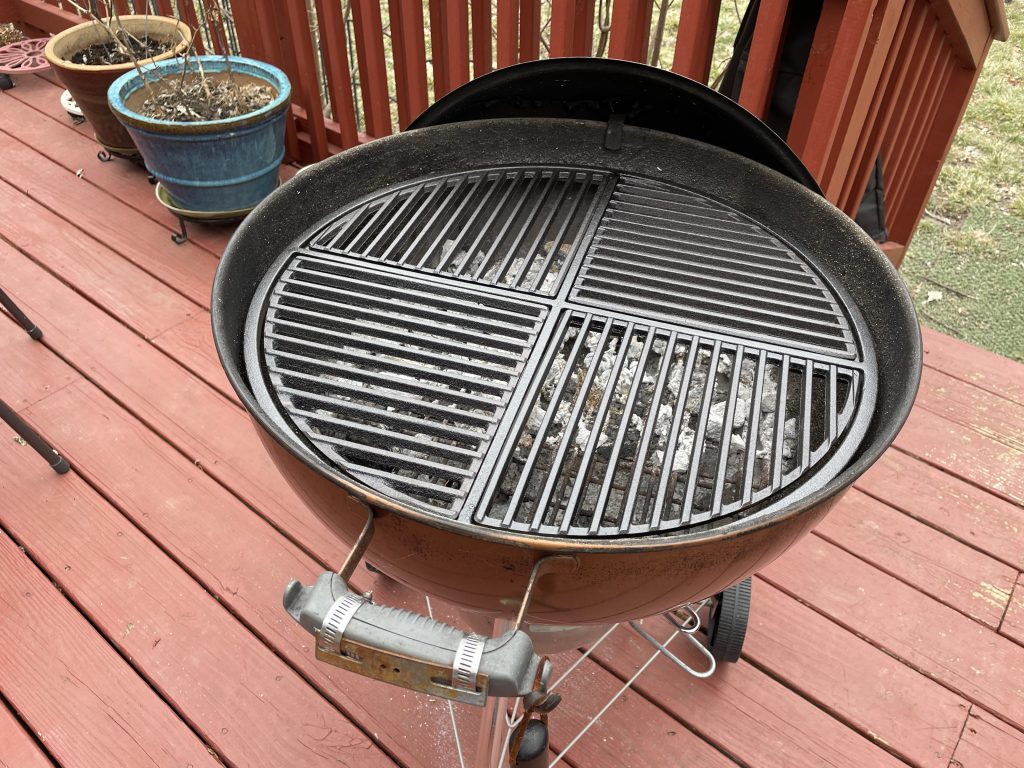
I seasoned and sealed them over the weekend, and Sunday it’ll be warm enough that I’ll try grilled chicken. Here’s hoping I can step up my grilling game another notch!
–Simon
I’ve talked before about how you’re probably cooking meat wrong, because you’ve probably listened to a bullshit article that was regurgitated second-hand information that swam the backwaters of the internet cesspool until the original source was lost to digital entropy.
I get it. Spending 5 minutes instead of 5 seconds to verify information and perhaps seek out alternate opinions is hard. You just want to get back to wasting time on ADHD social media feeds. And if you’re bothering to still be reading this post at all, you’re probably angrily scrolling past my intro to get to the information.
But the real tragedy is SEO – search engine optimization. They won the algorithm battle, and search engines no longer prioritize delivering meaningful content. I usually ignore page 1 search results by default now.
Okay okay, so on to the real article.
Store-bought ground beef sucks. Here’s what you can get:
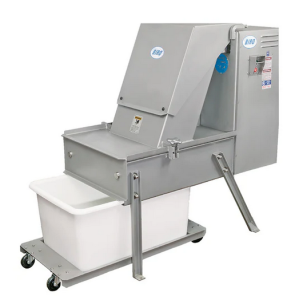
What’s the point of this post? No reason, other than this information doesn’t appear to be available anywhere else, and certainly not in once concise location. And it’s all part of my perfect burger journey. Don’t trust beef you didn’t grind yourself. Grind your own.
–Simon
571 words, 3 minutes read time.
(Did you notice I added word count and read time? I always thought this was silly myself when I come across it, because if I actually clicked on the article, it’s probably going to interest me enough that the world count disclosure wouldn’t dissuade me. But, ADHD as we are, I’ll start providing the courtesy.)
To char-grill, or smash burger? Ah, such is Man’s burden – to be forced to decide between coal-fired crisp or succulent smooshed sear. The former produces thick patties encrusted with Malliard’s magic, but can all too often result in dry burgers that don’t retain cohesion upon flipping. The latter produces crisp edges and juicy interiors, but lacks the char crust and retains too much grease for comfortable digestion. So we must choose a preference, and I don’t like those restrictions!
What if there were a way to have your burger and eat it too?
Introducing: Simon’s Patenty Patented Patty Prep!
Step 1, line a grilling cage with aluminum foil. I prefer grilling foil to those sissy skimpflated hair-dying foil sheets they pass off at the grocery now. No really, I had budget foil melt on the grill before. Don’t use it.
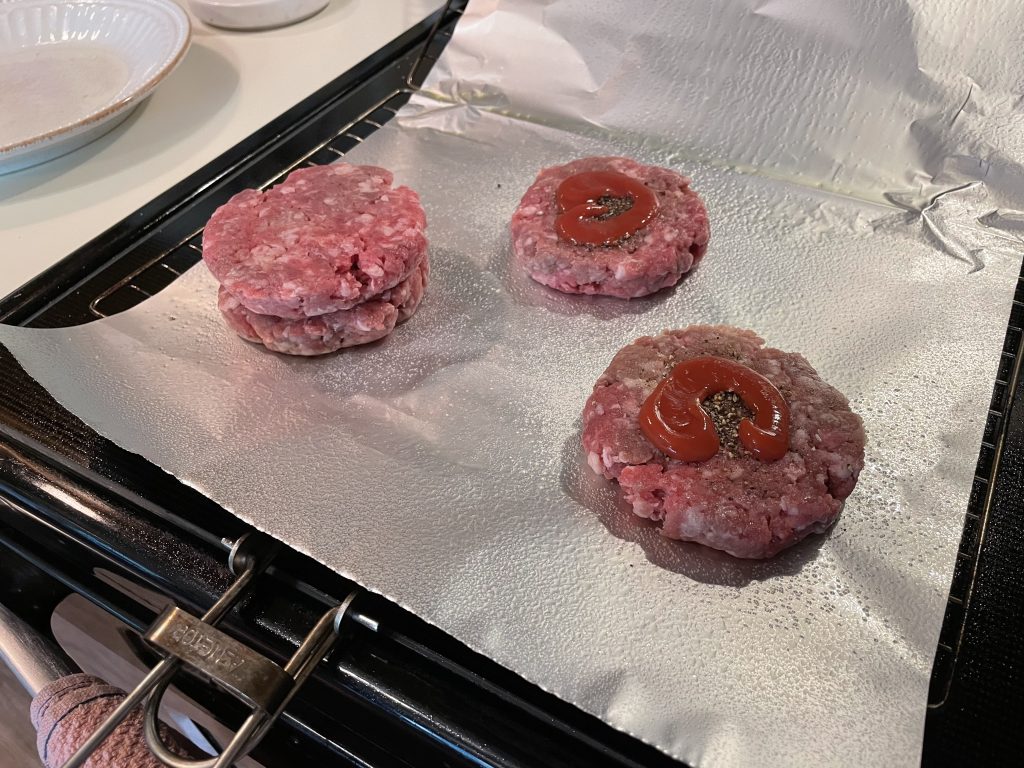
Step 2, spray the foil in oil and arrange your patties. Leave sufficient room between them to allow for smashing. Season.
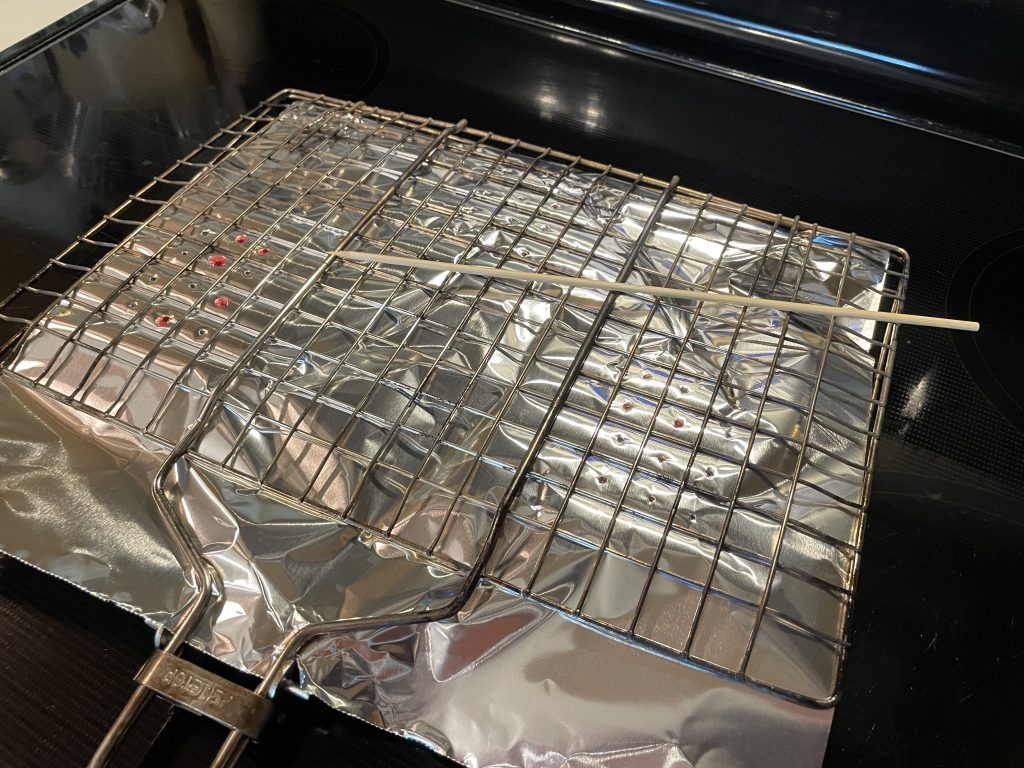
Step 3, close the cage around the foil and patties, and lock.

Step 4, perforate the foil on both sides. This will allow the excess grease to drip out and the smoke to add seasoning.
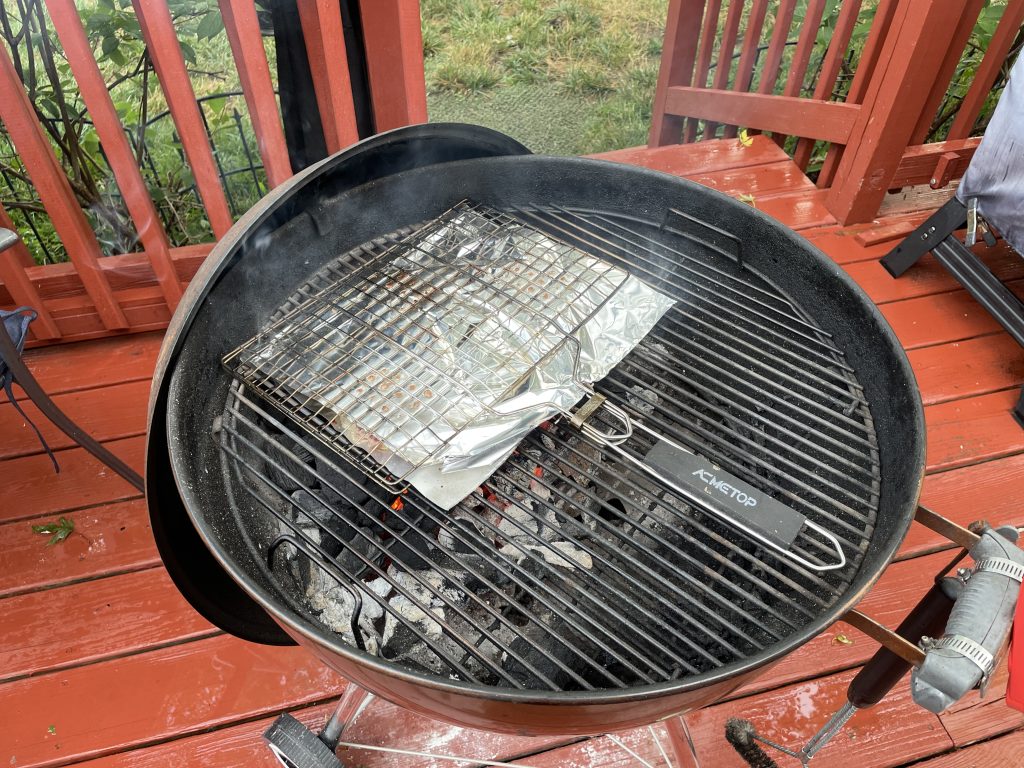
Step 4, place the cage over direct heat and grill. It will take longer due to the added mass and foil shielding, but be patient and don’t worry about the flareups. They won’t burn. Use an instant-read thermometer to monitor progress. Some of this will be more instinctual since you can’t visually inspect.
Step 5, flip accordingly, but don’t flip too early or you’ll miss out on browning. Pull the patties when the internal temperature is where you want it.

Step 6, add cheese and rest the patties while still on the foil. It will cool quick enough, but retain enough heat to gently melt the cheese.
Step 7, of course, is to stuff face hole.
And there you have it! No crumbled patties from a botched flip. No need to add binding agents to hold the patties together. Hole size can be customized to determine level of runoff and browning. The slight smash of the cage offers a compromise between char-grill and smash burgers. And the properly-oiled foil doesn’t stick to the patties how even the most clean of grill grates always tends to.
You may license my patent for $1 per patty. Happy grilling.
–Simon
I’m going to start short posts with the food I make, because:
And so, grilled fajitas with cilantro rice:
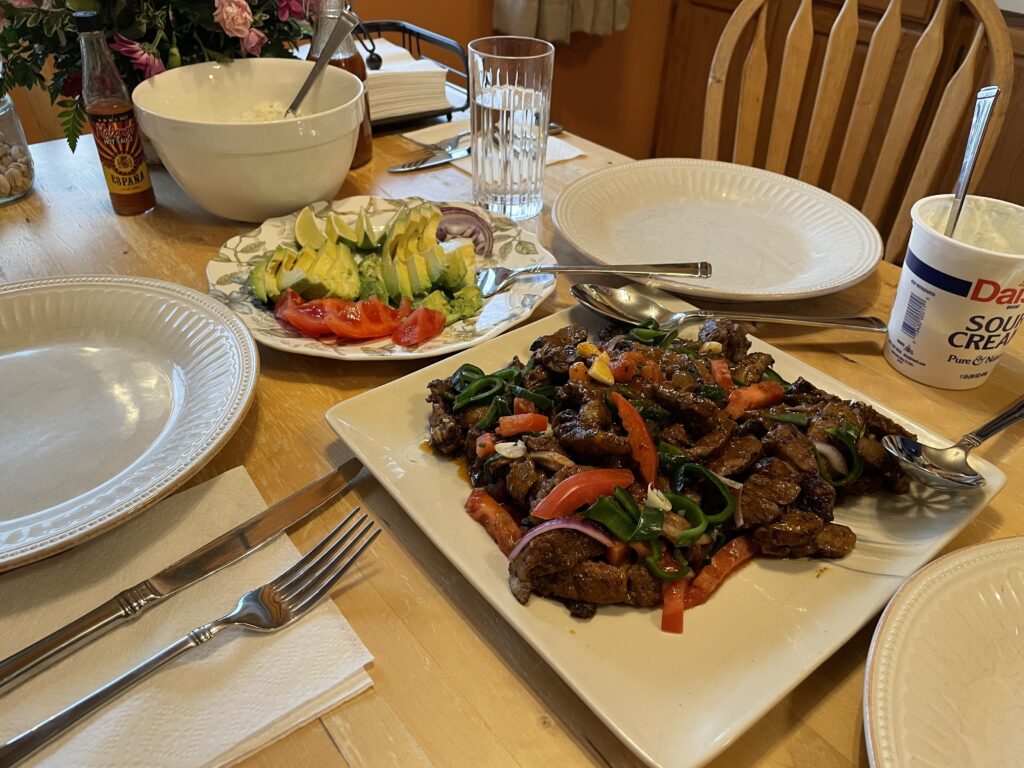
I’ve started doing more foil pouch cooking on the grill. This approach really melds the flavors in a way that indoor appliances don’t quite replicate. I think it’s the combination of the higher heat and the pressure. I will experiment with this more.
–Simon