One Friday evening I was pacing around the house, trying to think of something to do. It’s rare I feel boredom, as my expanse of hobbies and family obligations keep my working memory filled with tasks that I spend a lot of time triaging while staring out the window. And it was in this rare moment of boredom that I went against my better judgment and dared to offer a dissenting opinion on a benign topic of conversation I was at that moment casually having via text message with my sister.
Single people have a lot of time on their hands, and how they choose to fill it can be downright confusing to the married and parenting counterparts. They seem to all feel the need to subtly justify their life choices by offering commentary on their busy schedules and how important they are in their professional lives, and always without any prompt to do so. I assume that it’s just an insecurity, combined with the lack of a close personal relationship with someone comfortable enough to tell them to shut up.
These people also feel the need to bait you into an argument. Under the pretext of academic discussion. So that they can use their vast amounts of free time to fight their insecurity by trying to demonstrate a moral or intellectual superiority.
I somehow managed take the bait on this occurrence because I didn’t think there was an argument, because I wasn’t disagreeing necessarily. The discussion was on whether the novel Dune was a ecology story. This was rationale, apparently, by our father to get my sister to read the book (they’re both ecologists). I was amused by this, and pointed out that there would be a large amount of bias behind this categorization because of our father’s background. I posited that sure, that’s one of the themes, but one of the lesser ones compared to the larger story, whose themes included psychology, philosophy, anthropology, economics, and metaphysics. It was not the correct answer to end the conversation.
(Amusing aside: the Dune story came up at work and someone mentioned their take, that it was “a deep look into human psychology, culture, behaviors, politics, relations, etc.” Interesting. I guess that makes two of us that are wrong.)
Fortunately, my out arrived in the form of a ceiling light in the remodeled bathroom that had dislodged from its mount and was holding position only by the attached Romex. Having been pulled abruptly back to the land of the sane, I realized the absurdity of having a literary discussion about a novel with someone who hadn’t read the novel, and I stopped responding. There were more pressing matters now at hand. I’m sure she went on to torment other people via text, so I don’t feel bad. She’ll be fine.
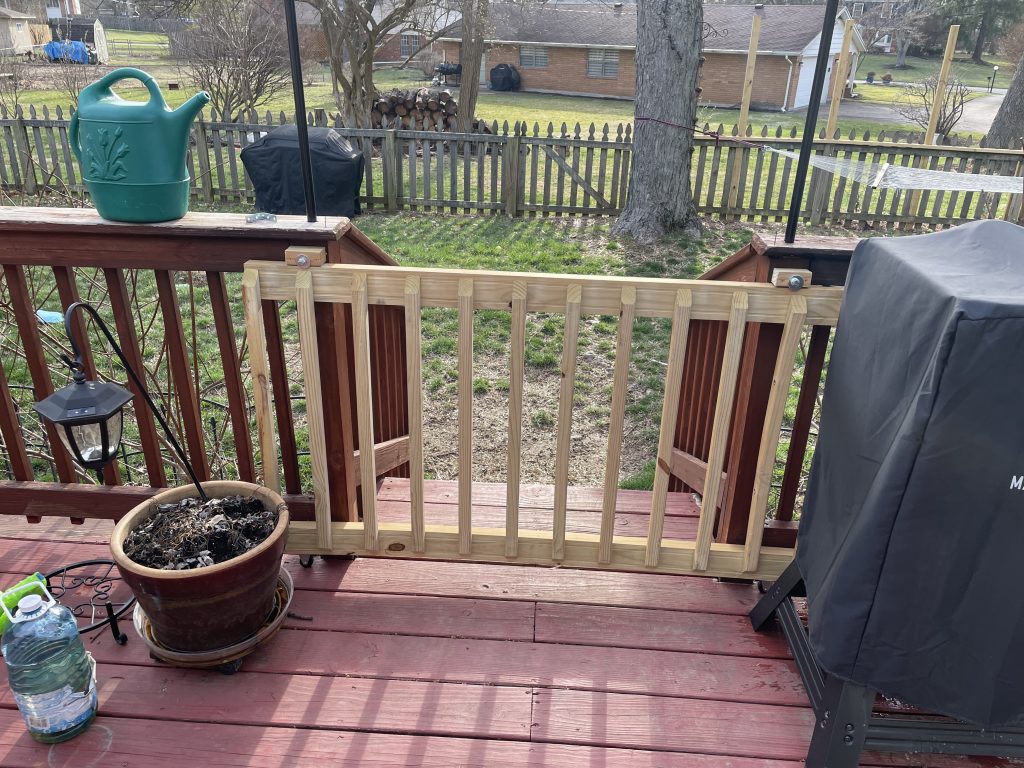
Now back to the project.
In a continuation of the previous Idiot Homeowner’s work, the light had dislodged because the mounting bracket was installed to a junction box that wasn’t actually attached to anything. I hadn’t noticed previously because I used the existing bracket, which had just enough tension on it to give the illusion of proper mounting. But time, and me trying to open the fixture later to change the lightbulb, overcame the drywall. And so, left with the dilemma of not being able to remove the mounting screws from the light because they were inside the fixture that wouldn’t open, I took a Dremmel with a cutting wheel and ground through the screws. The wire had been spliced into the main lightswitch, so there never was a way to control it separately. And with the main lights being more than sufficient to illuminate the bathroom, we decided to decommission the run, rather than install a new light. I properly cut, capped, and boxed the wire terminals, and Liz patched the hole.
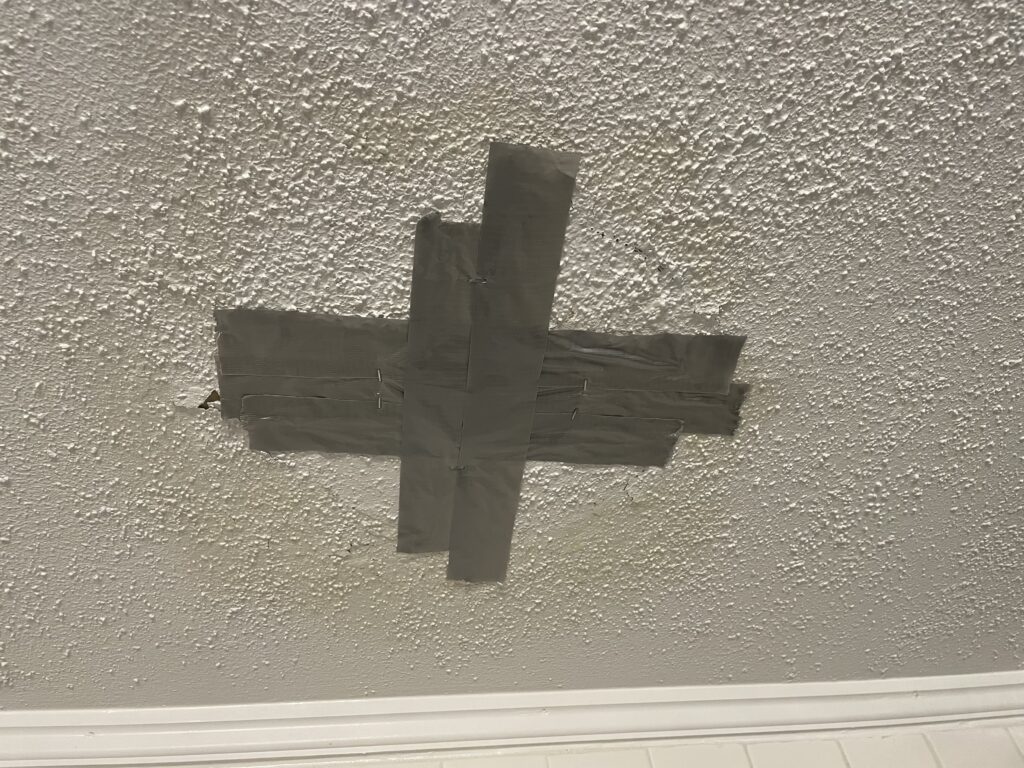
The wires, naturally, also lacked a proper ground. It’s probably best that this wire run not be used anyway. One more fix for the books.
–Simon