“I smell gas.”
It was a frank observation from the neighbor when she brought her dog over for a run. The dog, Duke, a basset mix, had taken a liking to Poppy–now the girl next door in a midwestern suburban community–a canine Rockwellian romance.
But there was indeed a gas leak. I had caught whiffs of it before, but living in a developed part of the world, that wasn’t as uncommon as we’d like to believe, seeing as it’s one of the most explosive substances in general use. Yet frequent exposure leads to complacency, and I had dismissed it.
Then, when I was digging Faye’s grave, the smell was strong enough to make me sick, and when the neighbor commented on it, there was no denying the situation any longer. I called the gas company.
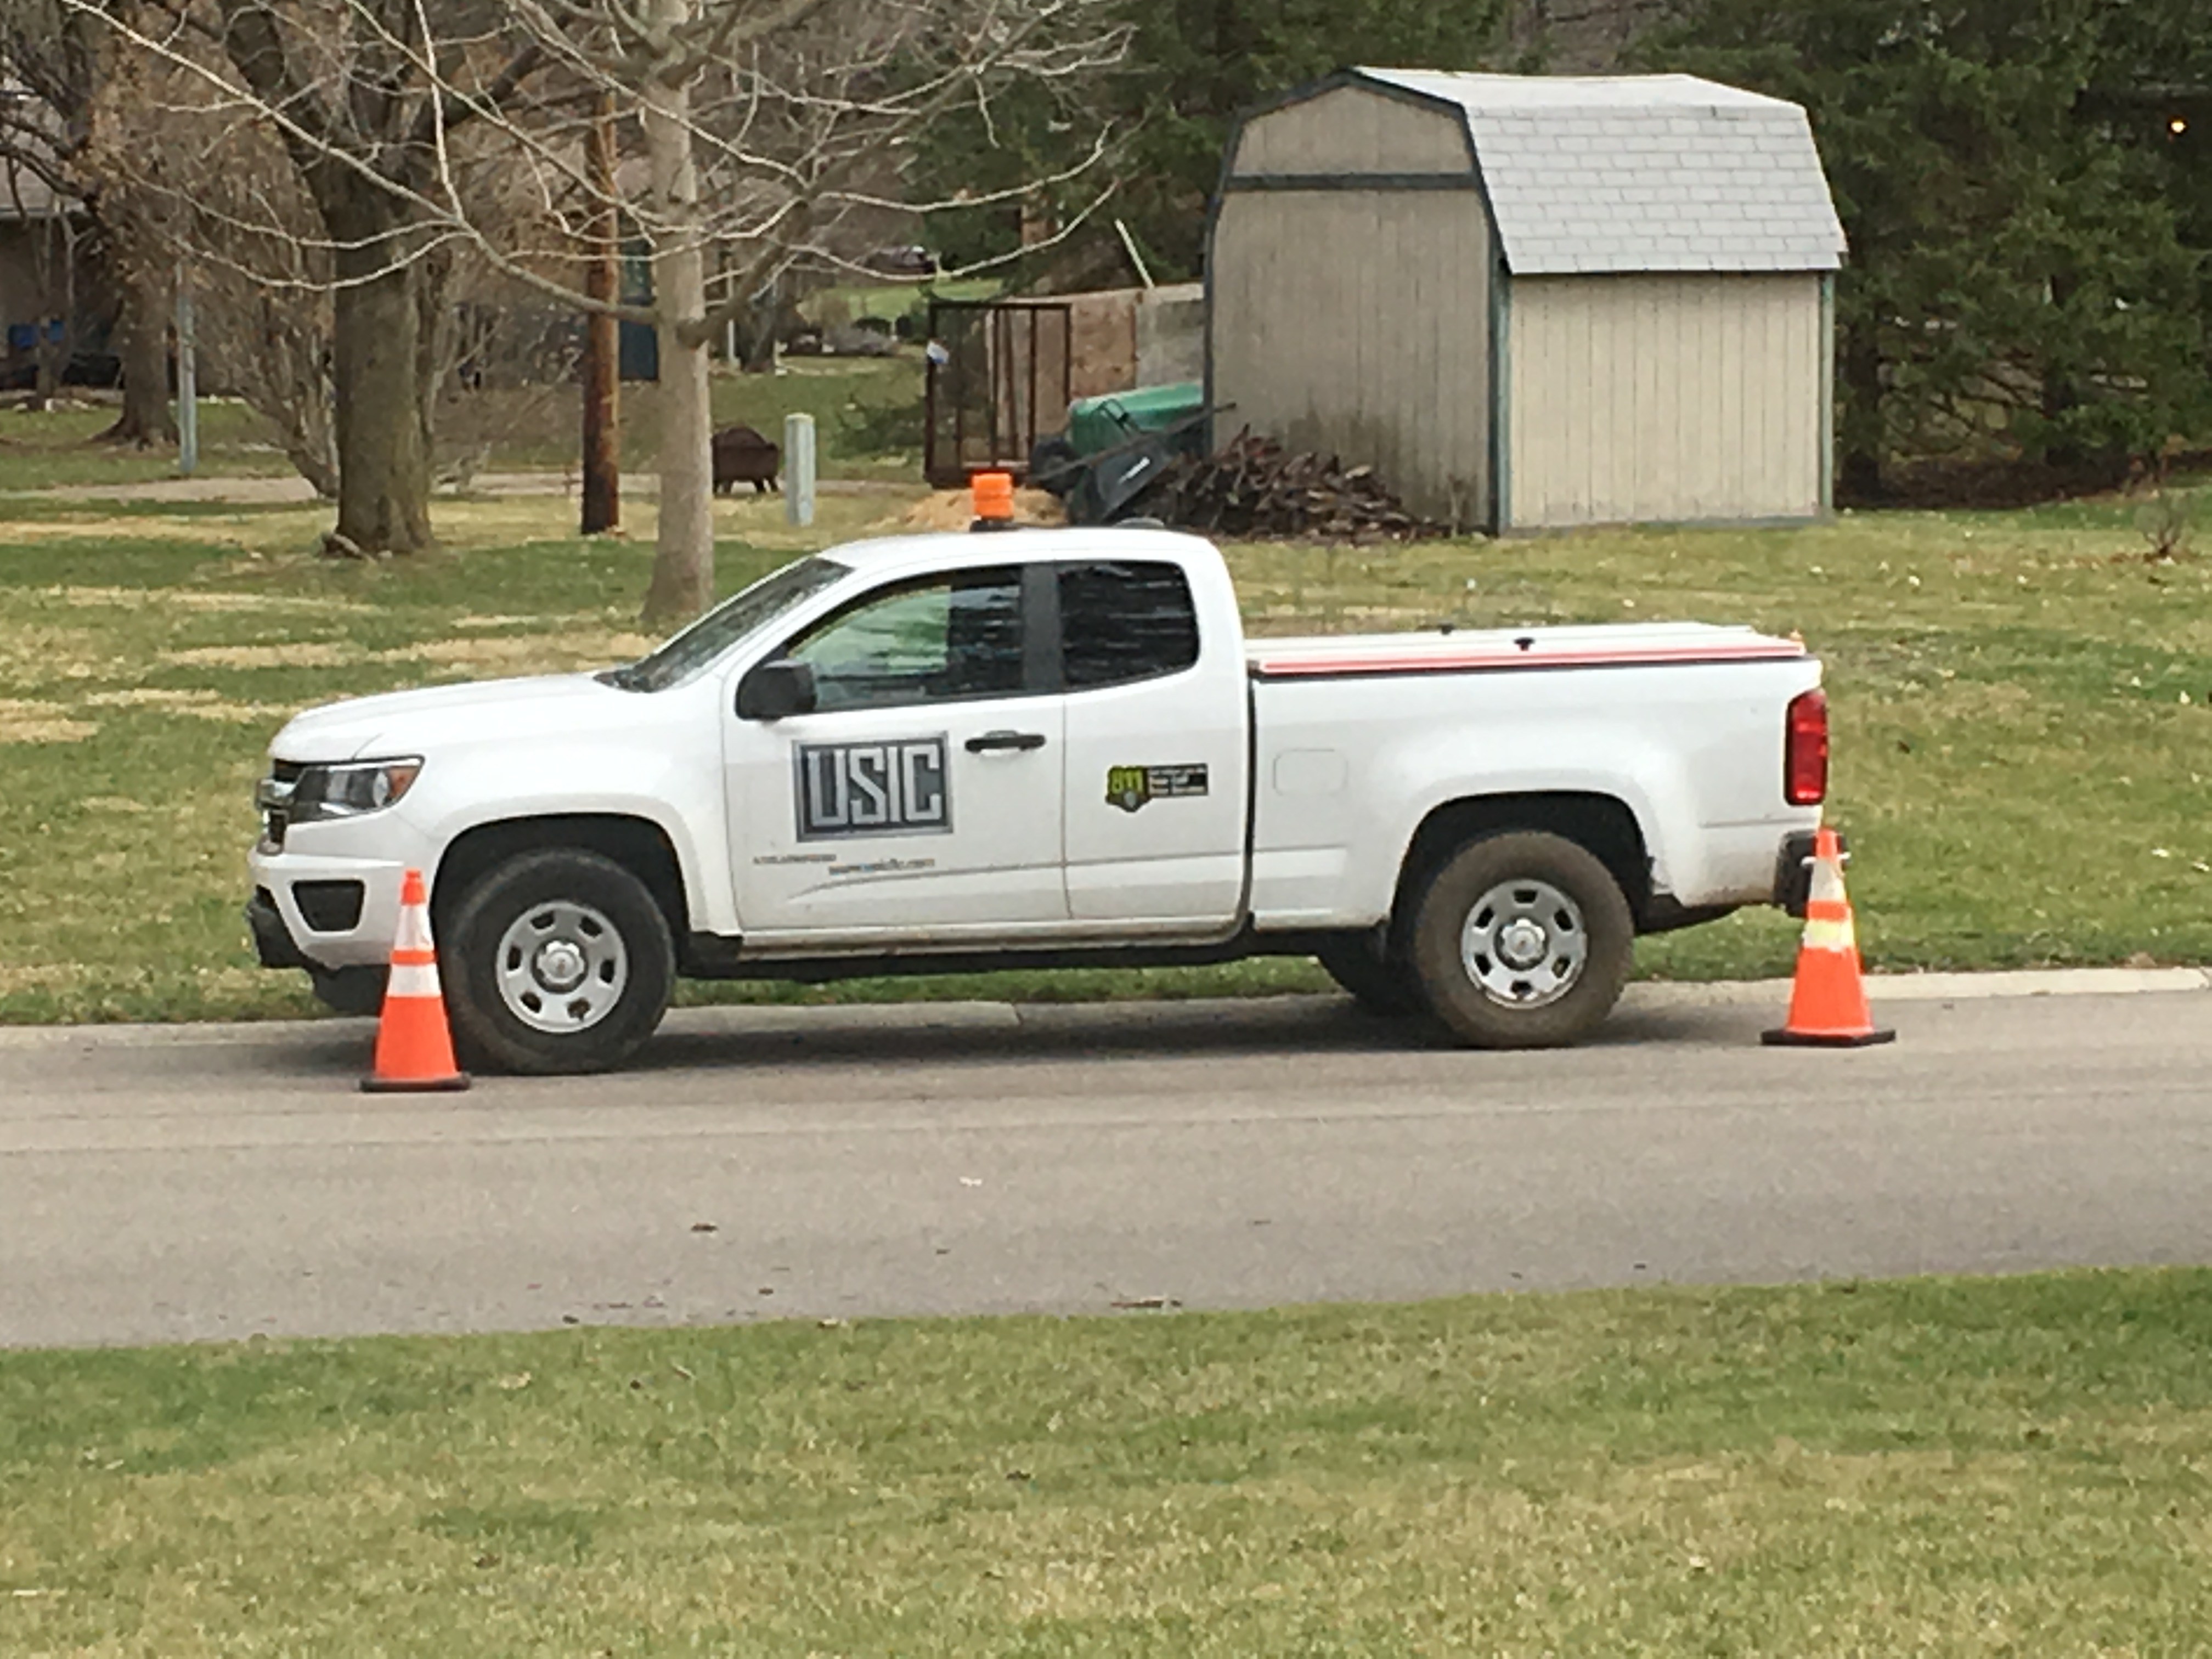
The number led to an IVR, naturally. And “in a few words”, described the problem. I chose the world “leak”, which was apparently a hot word to use, because I was immediately transferred to the “emergency response line”. Disconcerting. The lady who answered took down my info and advised me that she was required to dispatch someone immediately. So I left work to meet the technician.
He walked around the yard with a sensor, and confirmed that there was indeed a leak, but it was a non-emergency, so they would repair it within 10 days. In the meantime, he advised that I might see flies and dogs interested in the site, since it was a subterranean fart line emanating eternally into the atmosphere (not his exact words).
I waited patiently for the phone call, which was supposed to take place 24 hours before the work began. They would still complete the work without my presence, but then they couldn’t turn the gas back on. Predicting a lack of heat and hot water to make a house cranky, I held off making any other plans and waited for the call.
The call came in the form of another technician ringing the doorbell several days later, shortly before I was to leave for work to do a presentation. He was there to start preliminary tasks, which involved checking the utility mappings–not sure why they bothered to do it the previous week, but okay. As the prior technician failed to mark the buried coax that supplied my Internet, I took the opportunity of this secondary visit and mentioned it to the tech. He explained that its existence hadn’t been registered because Time Warner “didn’t care about damages”. His choice of words indicated a deeper resentment. Perhaps this was a common occurrence. And I’m certainly not one to ever defend the practices of a cable conglomerate, nor to presume the repetitive irritations of another’s job.
My passive smile must have not been the reaction he was expecting. Maybe he was baiting me for fun–something I can appreciate, having worked for years in customer service. Whatever the reason, he followed up with an appeasement that he would mark it anyway. Whilst doing so, he then hinted further into the politics of utilities–something I hadn’t formerly considered. But, I suppose it exists everywhere.
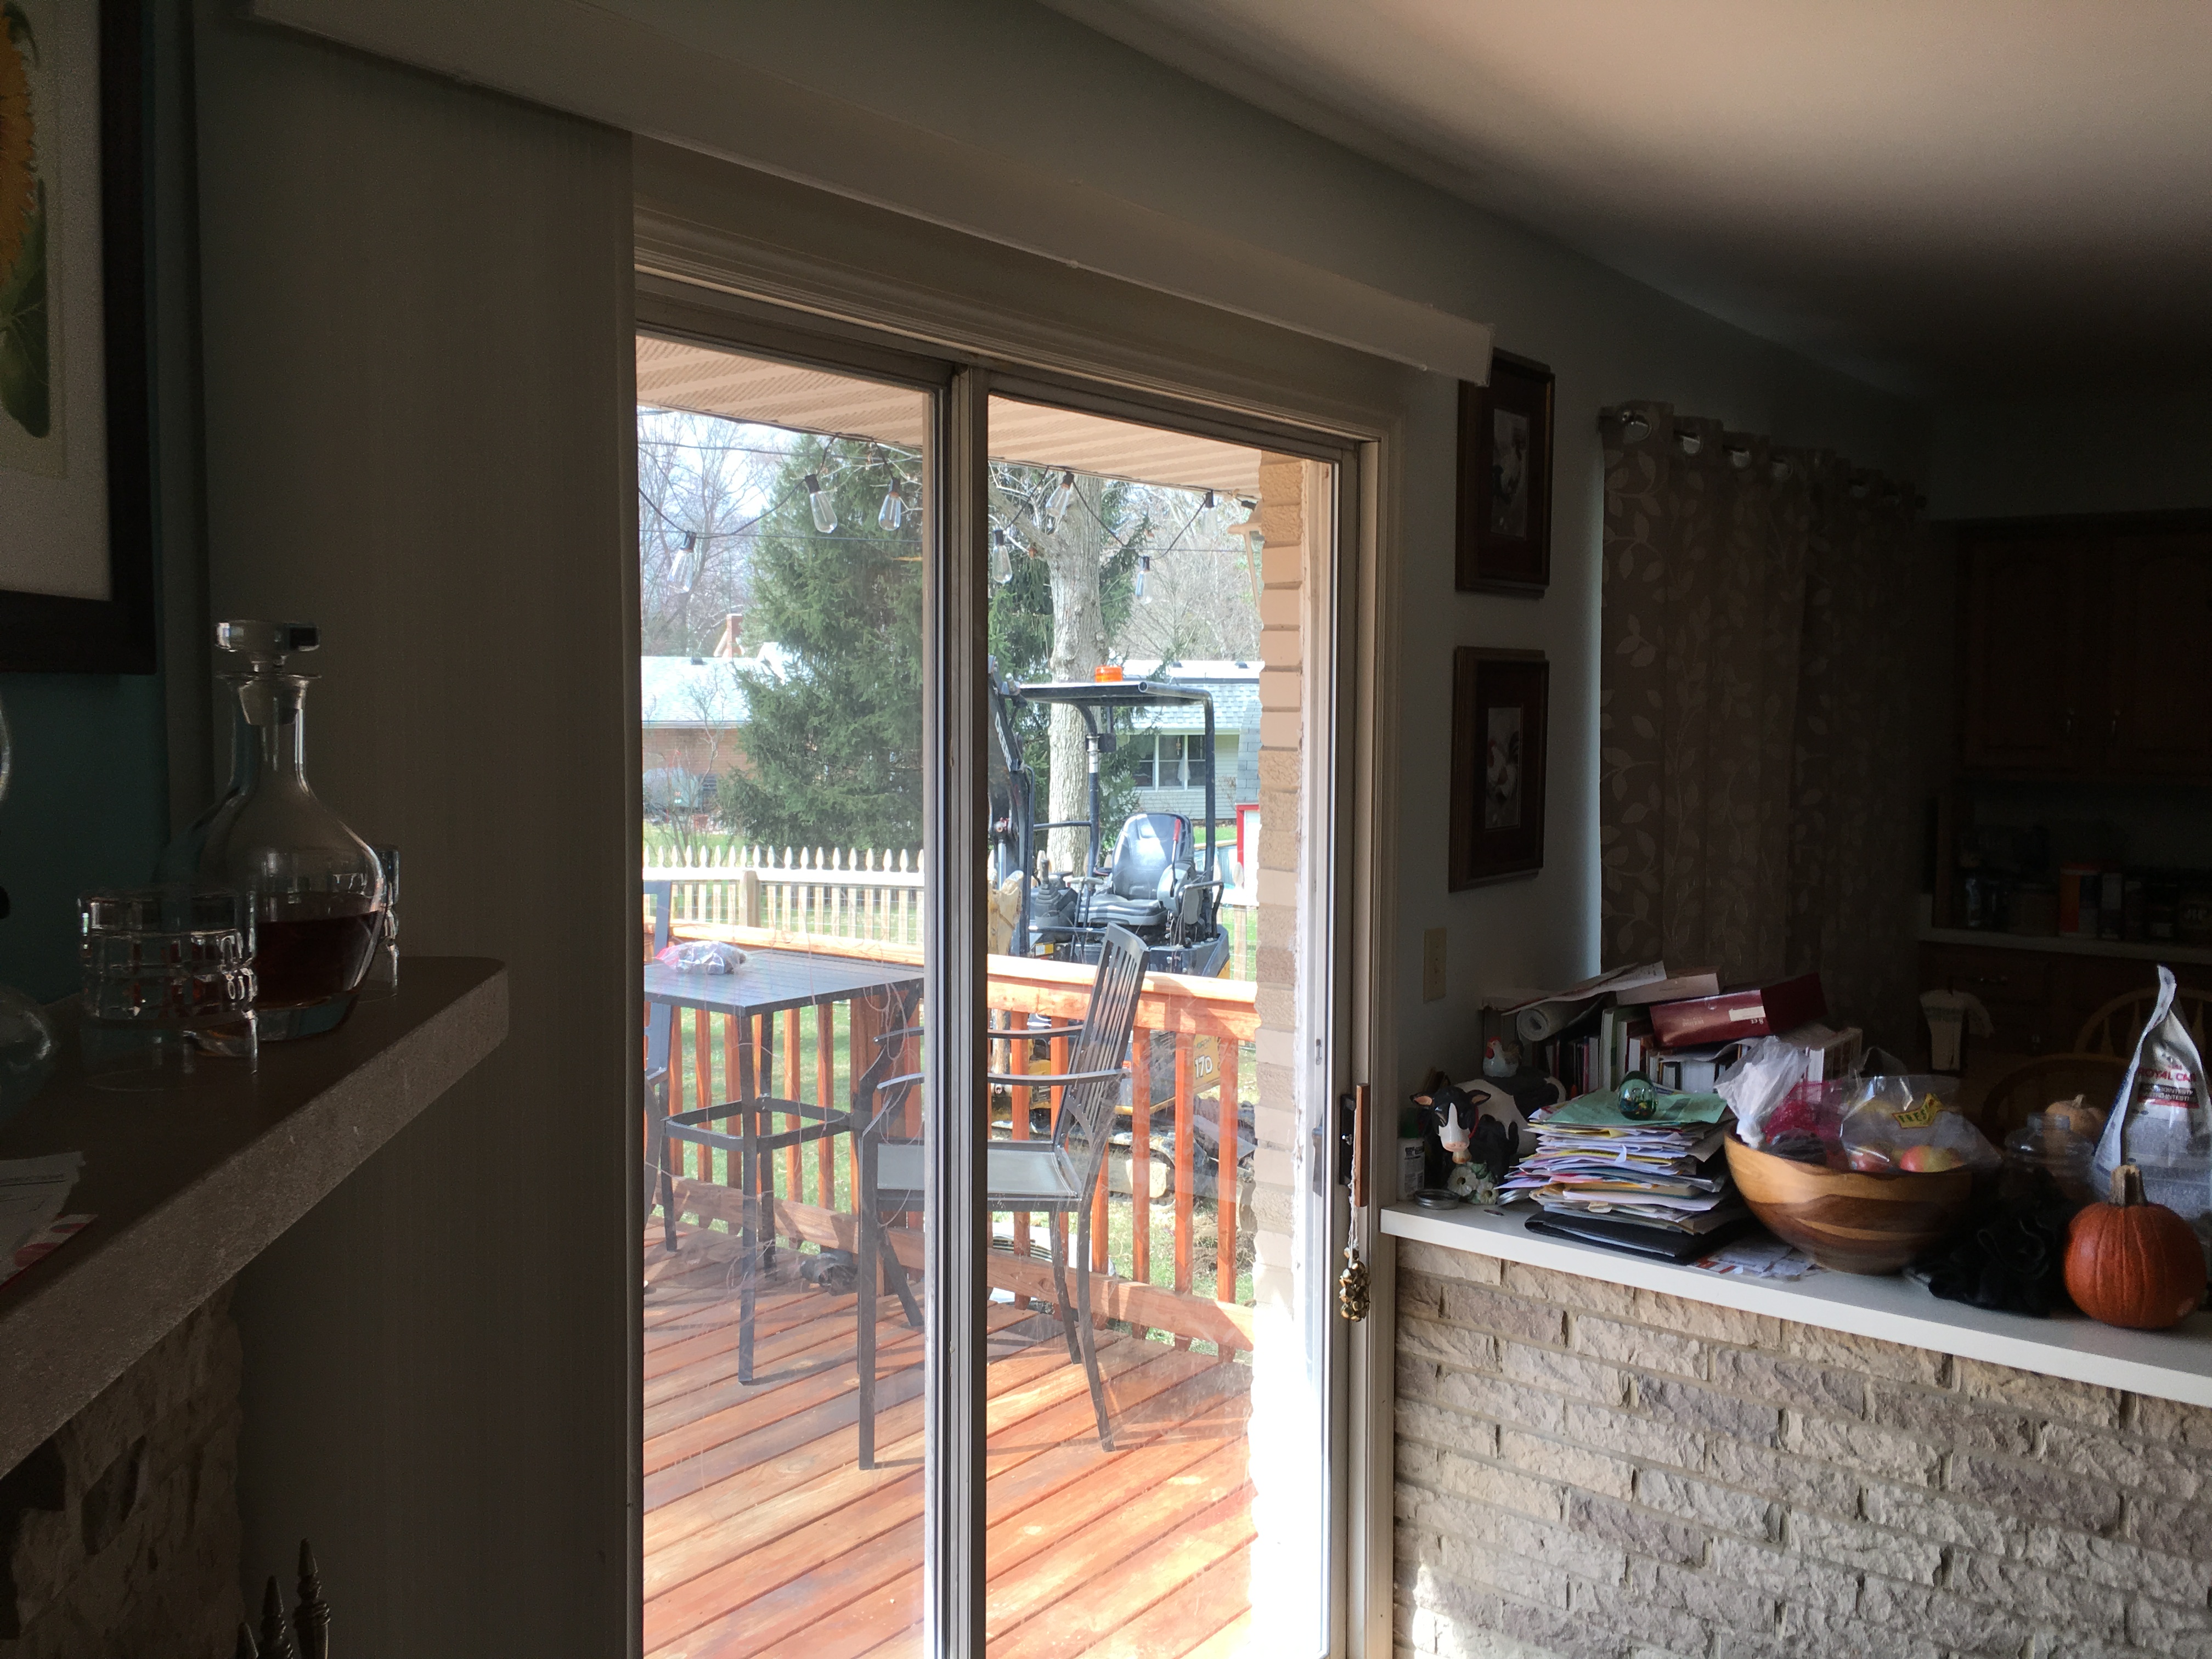
I left for work (getting the phone call shortly after the technician arrived), hoping to return before the repairs were finished…so I could get the gas turned back on (again, no one wants to live without heat and hot water). When I did return, I saw a number of workers standing around, and two large holes in the ground. Upon inquiring, I was advised that they were unable to push the replacement pipe through the existing line, probably because of the tree roots in the way. They had called for a rooter, and if that didn’t work, they would have to trench. They seemed less enthused with the prospect of trenching than I, so I offered to make them coffee. They politely declined, and I went back inside to do some more work and get out of the way.
Down in basement, in my improvised and “temporary” office setup, I resumed my onslaught of eternal conference calls, while the backhoe just outside continued its own work. I kept my phone muted as much as possible.
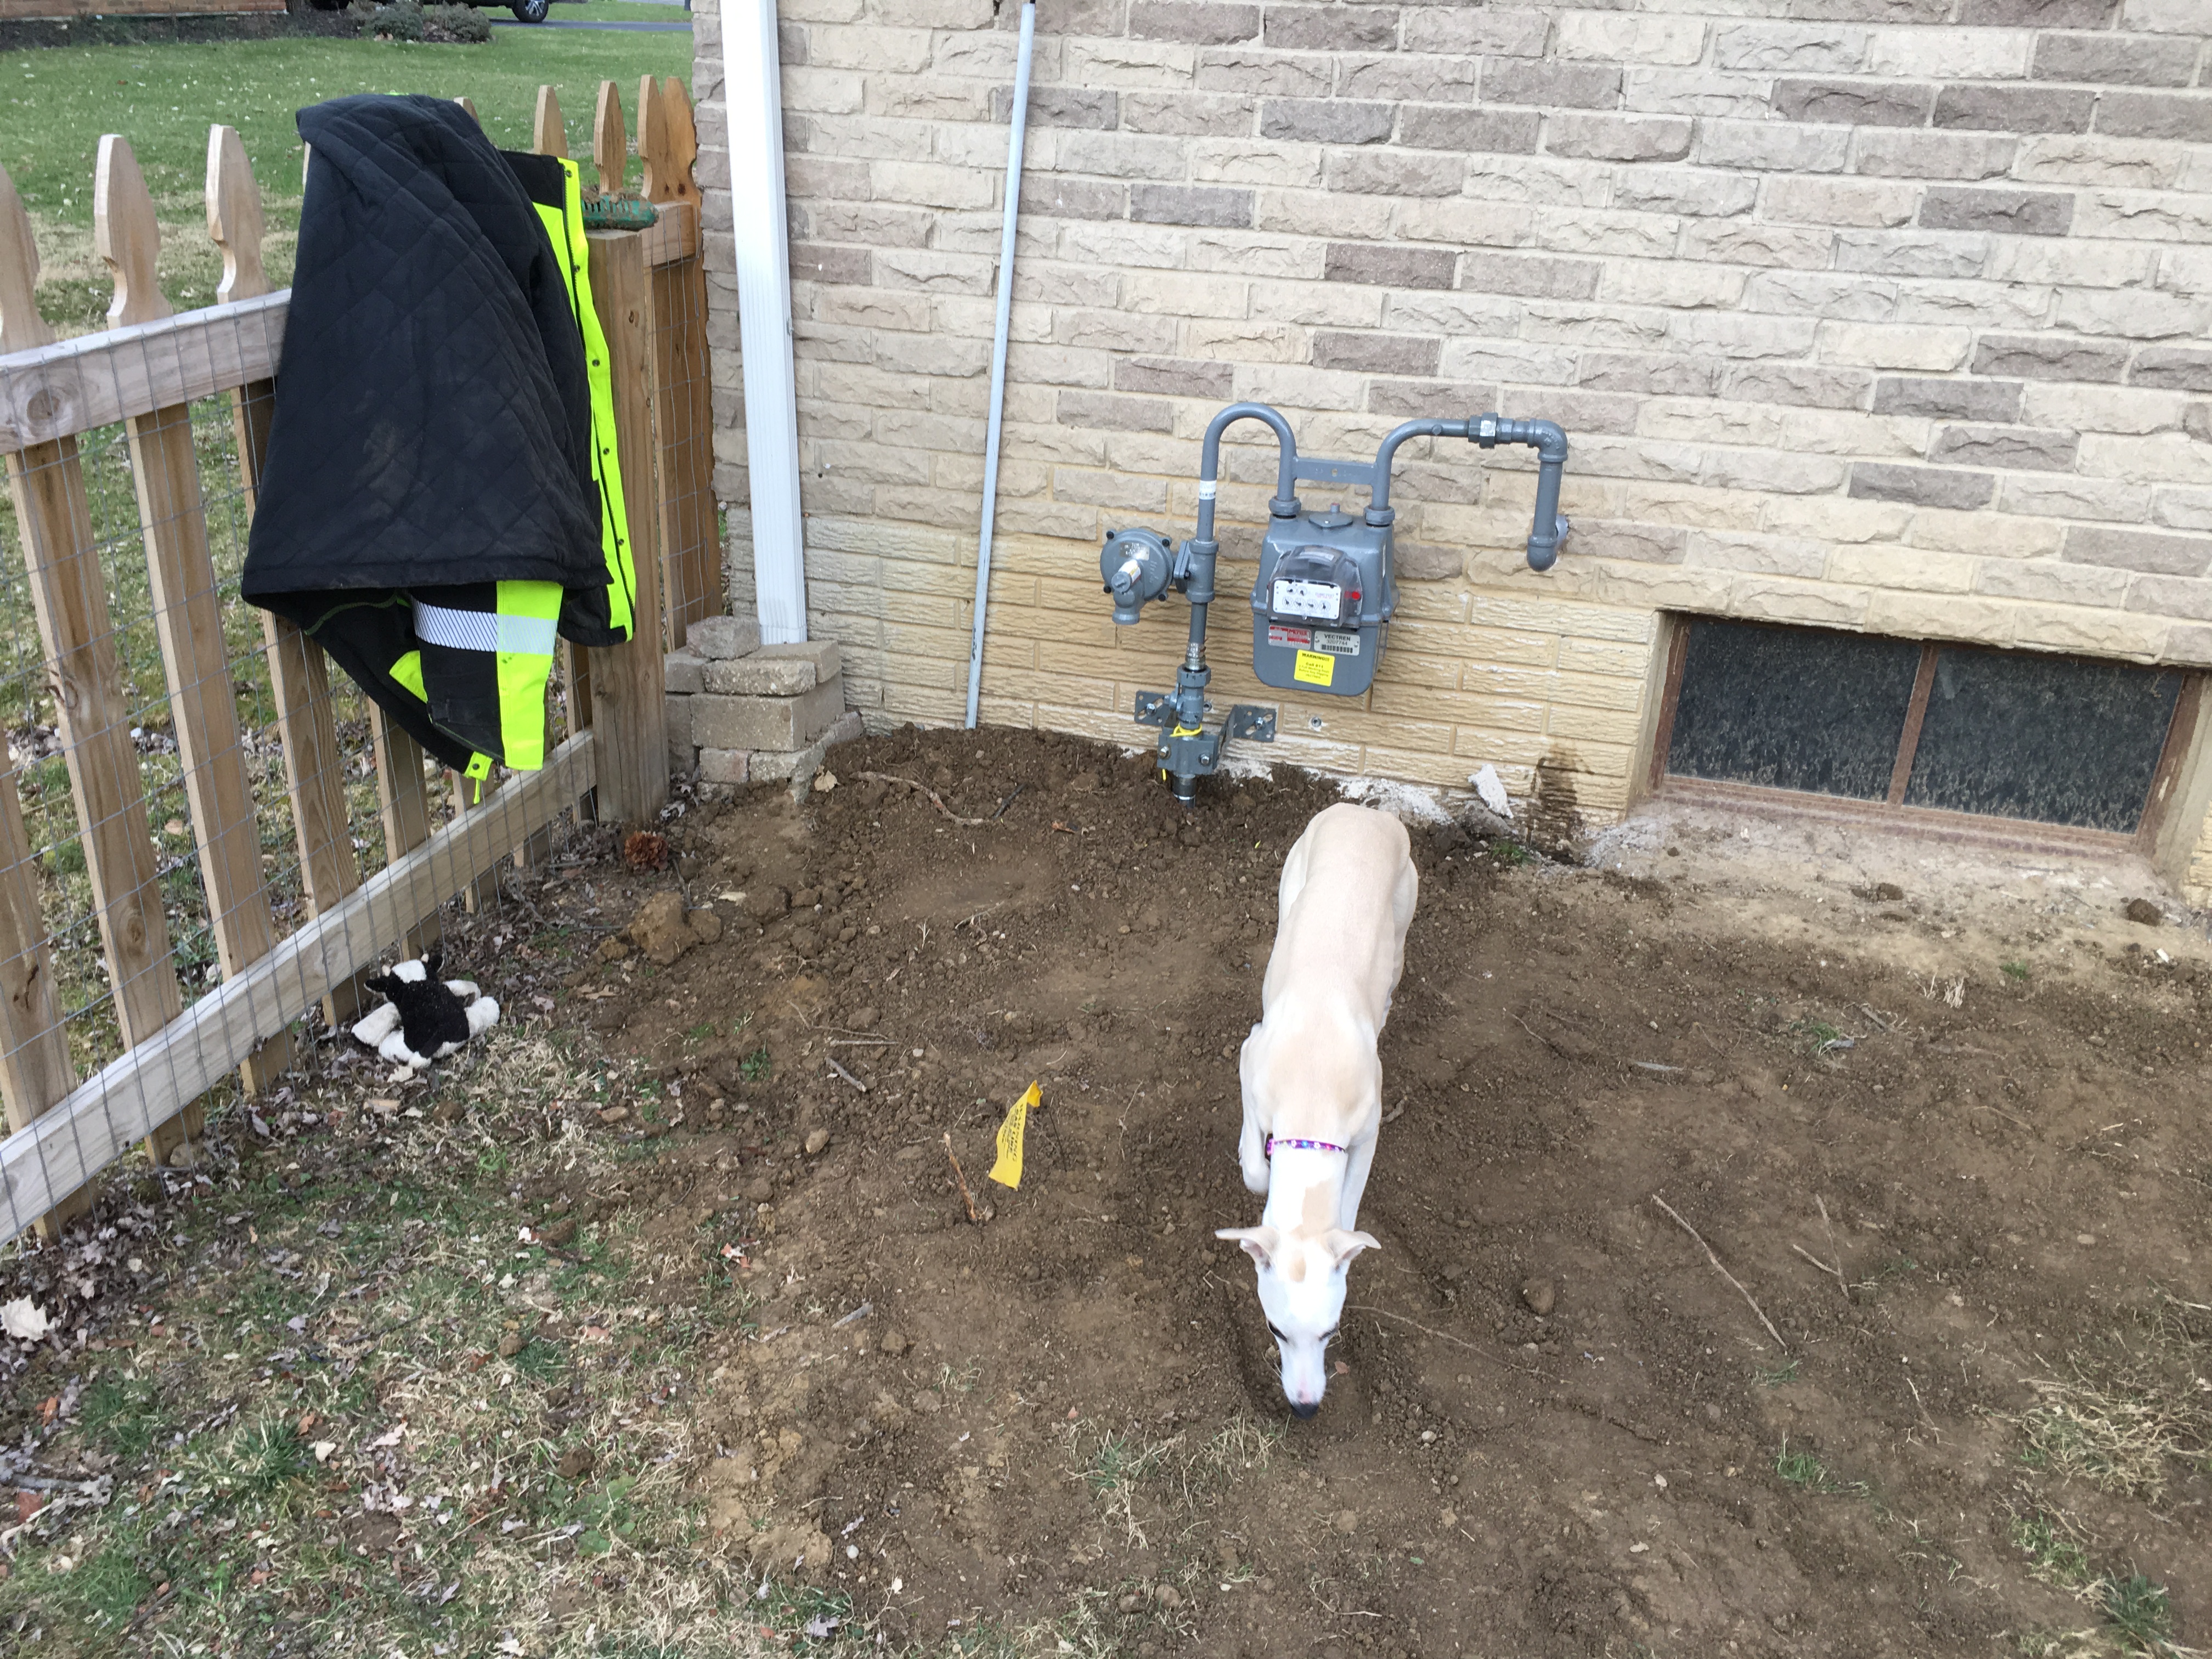
A knock at the door (ignoring that big fancy doorbell), broke me from my concentration (or as much as one can concentrate with power equipment running nearby). Another worker informed me that they would have to move the meter, as its proximity to the electrical and defunct dryer vent posed a hazard. Something about explosions and asphyxiation (again, not their words). This meant that they would have to install a new section of piping inside. I was unconcerned and acknowledged the necessity, advising that I had an unfinished basement. They were visibly relieved.
I attempted participating in another call, but installing a new gas line meant drilling a hole through the outer wall–masonry. The task was even louder than the backhoe. I gave up on the call.
And since the basement pipe installation involved hammering supports into joists, it became even noisier. I gathered my work materials to go upstairs. I felt no contempt, but the worker smirked as I left.
More goddamn calls occupied me for the remainder of the afternoon, but they eventually subsided and I was able to ask about the progress. The rooter had worked, so no trenching. They re-lit my appliances, buried the holes, advised someone would be out to spread grass seed, and left. I overlooked the muddy shoes and took the mess in stride, relieved that the work was finally completed. Overall, they had made the ordeal as minimally-disruptive as possible–an experience completely different from cable companies. Then again, no one dies if a coax breaks, so the standards are probably set a little differently.
I was also pleased that trenching wasn’t necessary, for had it been, I might have had to explain the whippet graves.
The appliances came back online before Liz got home, so no girls froze in the making of this blog post–the biggest victory of the day.
And no more fart line.
–Simon